Audience workbooks
When you open an audience, it opens as an audience workbook. The workbook always starts with an Audience tab, the group of contacts you've built using includes and excludes.
Alongside the Audience tab, you can add pages to build out your workbook, similar to tabs on a dashboard. Each page gives you a tool to analyse, visualise, or export your audience.
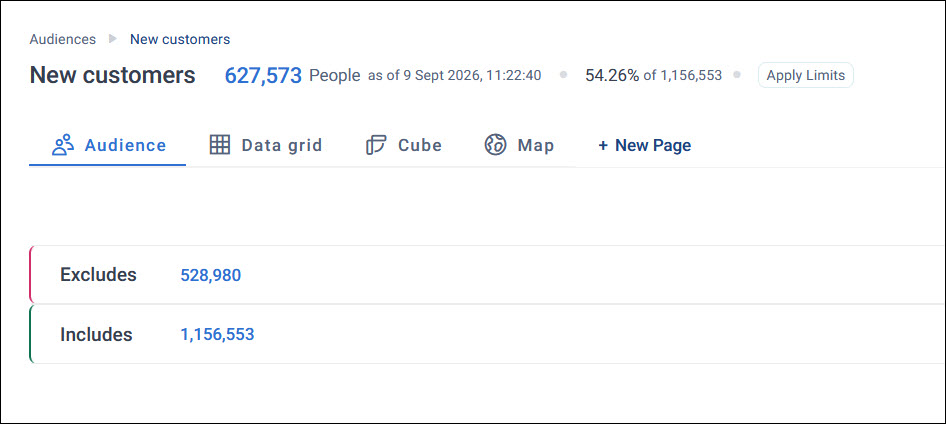
Adding a page
Select + New Page to choose a tool for your new page:
- Solutions: Guided starting points, such as Check My Results, Browse Data, Export Data, and Find Look-alikes
- Tools: Cube, Chart, Data Grid, Venn, and Map
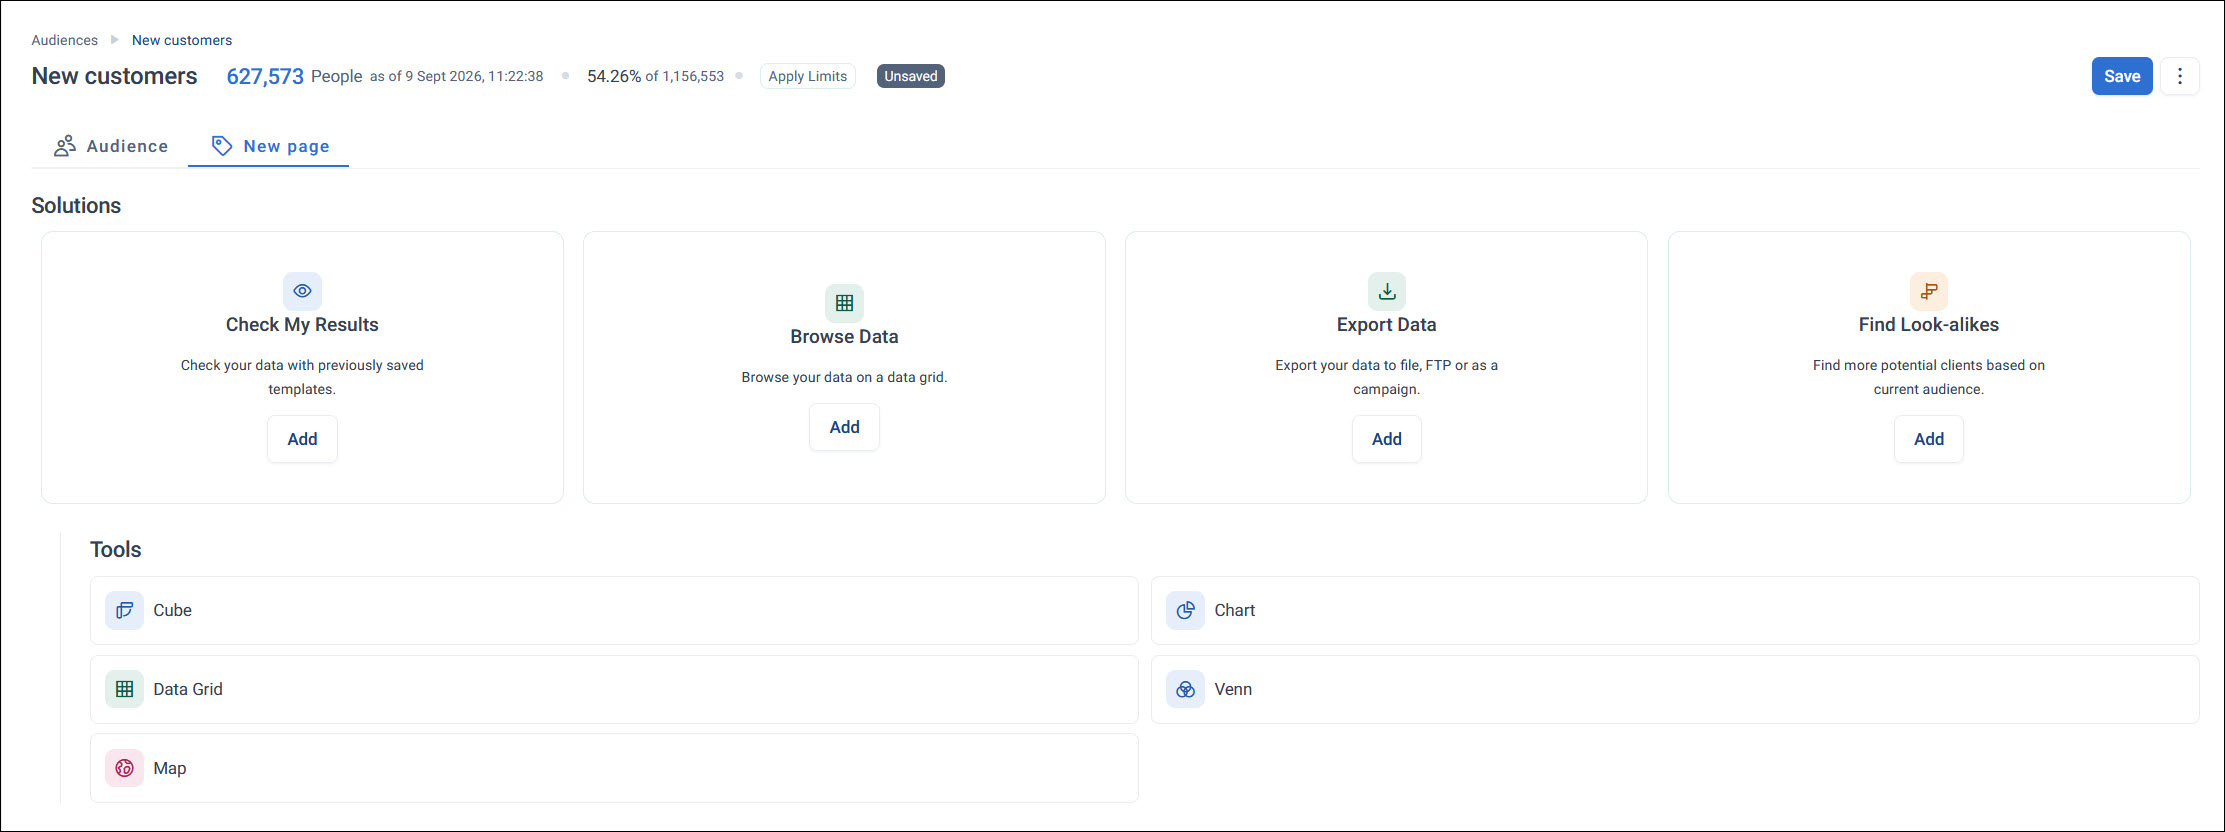
Many of these tools are also available as dashboard tiles, with the same visualisation and configuration options. See Tiles for how they work.
Managing an audience workbook
You manage the whole audience from its own options menu, and each page from the options menu on its tab.
The audience's options menu
The audience's options menu is in the top-right corner of the audience, next to Save. Select it to:
- Rename: Rename the audience
- Show Brief or Hide Brief: Show or hide a brief panel alongside the audience, for reference while you work
- Duplicate: Create a copy of the audience
- Share: Share the audience with other users
-
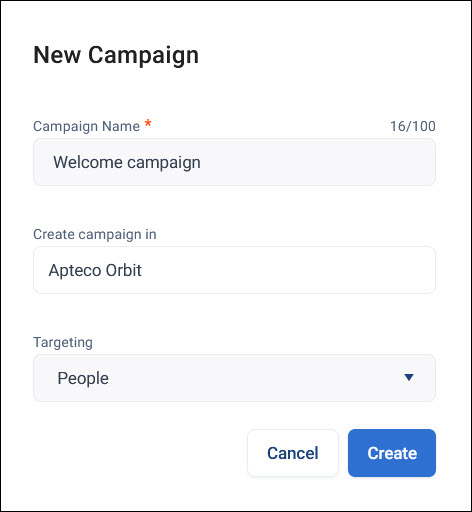
Campaign: Create a new campaign from the audience, setting a campaign name, the product to create it in, and its targeting
-
Delete: Delete the audience
A page's options menu
Each page has its own options menu on its tab. Select it to:
- Rename: Rename the page. You can also select the page's name on its tab and type over it.
- Duplicate: Create a copy of the page
- Export: Export the page
- Delete: Delete the page
To build the audience itself, see Build an audience.