Setting up your Microsoft Dynamics 365 custom object and table
To update your Microsoft Dynamics data through campaigning, you must first set up and configure your Microsoft Dynamics table. You can then configure your channel in either Orbit or PeopleStage to begin campaigning.
This example shows how to create a custom Model table in Microsoft Dynamics. It also shows how to set up a channel that pushes updates to those models in Orbit campaigns for contacts in the Contacts table.
Prerequisites: Edit rights for the PeopleStage or Orbit channel editor.
Creating your custom object
- In Dynamics 365, select Create new App. This opens Power Apps.
- Give your app a name and select Create.
- Select Data from the left-hand menu, then select Create new tables.
-
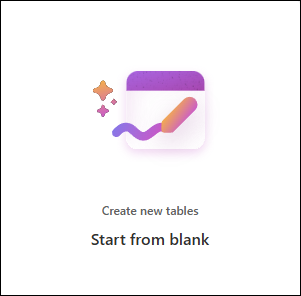
Select Start from blank.
-
Name the table Model.
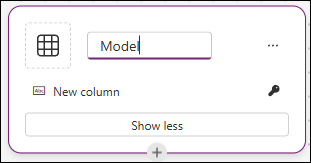
A column is automatically set as the primary column.
-
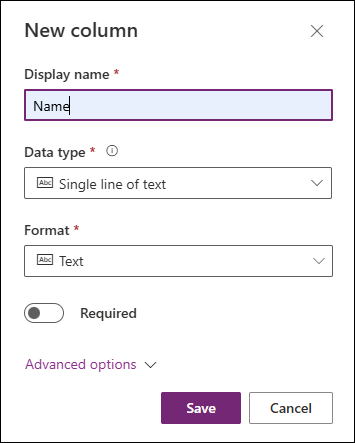
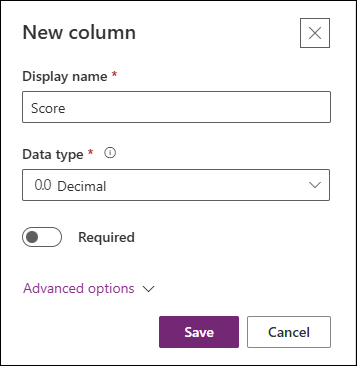
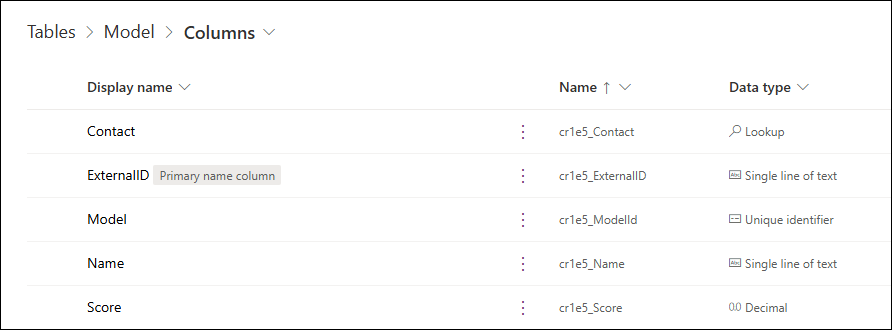
Select + New column and add the following columns:
-
Name
-
Score
-
ExternalID
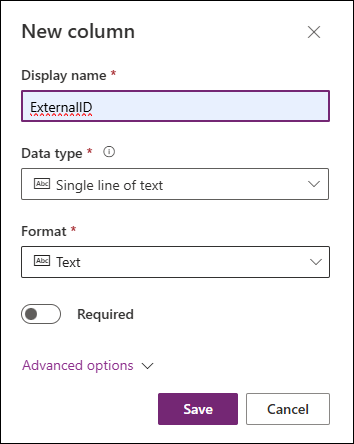
-
-
Select Properties and make the ExternalID column the Primary column.
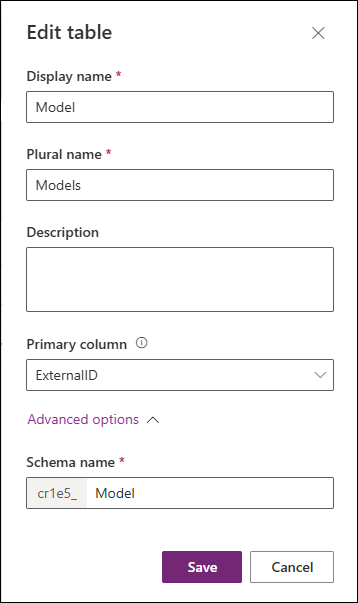
-
Expand the dropdown on the automatically created New column, then select Delete column.
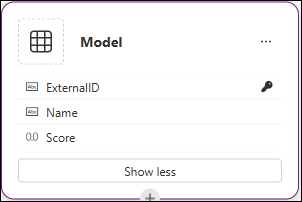
-
Select Save and exit. You can now add a relationship to the Contact table.
- Go to Power Apps home and select Tables from the left-hand menu.
- Select your Model table from the list.
- In the Schema section, select Relationships.
- Select + New relationship > Many-to-one.
-
Expand the Related table dropdown and select Contact.
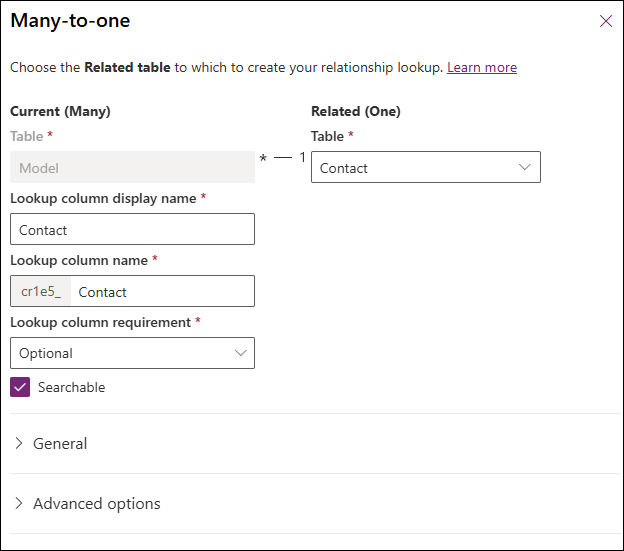
The result is a Model table with five custom fields.
Get logical names
To configure channel field mapping, you need the logical names of the table and fields. Edit each column, open Advanced options, and note the logical name.
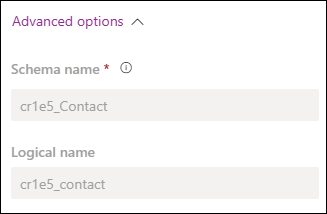
In this example, the logical names are:
- Contact →
cr1e5_contact - ExternalID →
cr1e5_externalid - Name →
cr1e5_name - Score →
cr1e5_score
Also get the logical name for the Model table itself:
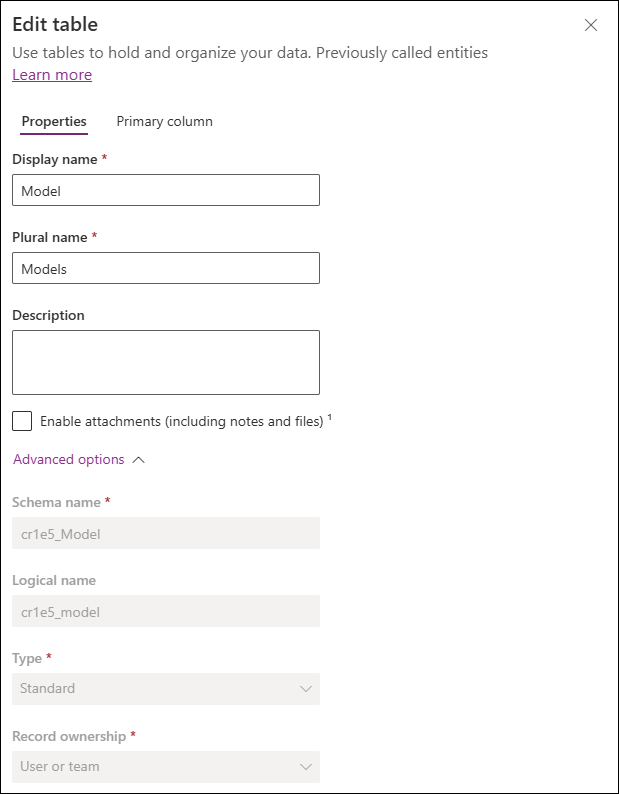
- Model →
cr1e5_model
You've now created your custom object. You can create your Microsoft Dynamics 365 channel in Orbit or PeopleStage to start uploading data through a campaign journey.