PeopleStage launcher configuration
The following guide takes you through the steps required to configure your PeopleStage launcher, distributed as a Microsoft Installer (MSI) file.
Configuring the launcher files
- Run Setup Manager on the web server.
- Select Browse and open the appropriate
PeopleStage64LauncherSetup.msifile fromPeopleStageEnterprise\Launcher\systemname\PeopleStage64LauncherSetup.msi. - The FastStats Setup Manager window opens. Configure the relevant tabs as described below.
Properties tab
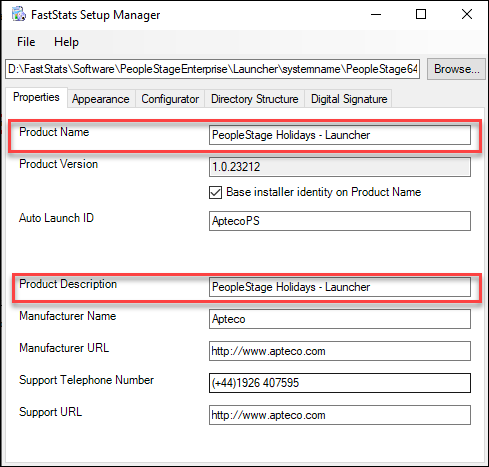
Under the Properties tab, rename the Product Name and Description to match the system for this PeopleStage launcher.
Note
It's best practice to tick Base installer identity on Product Name to avoid issues when opening multiple launchers with the same product name.
| Field | Value |
|---|---|
| Product name | Rename to match the system (e.g. PeopleStage AcmeInc - Launcher) |
| Base installer identity on Product Name | Recommended: lets you run multiple launchers simultaneously |
| Product Description | Rename to match the system (e.g. PeopleStage Holidays - Launcher) |
Appearance tab
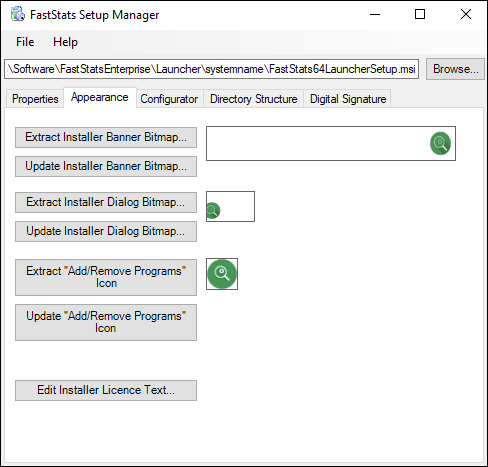
You don't need to change the default configuration unless you want to replace the default PeopleStage icons or banners.
Configurator tab
-
Select Launch Configurator to edit the
Launcher64.exe.configfile held within the MSI.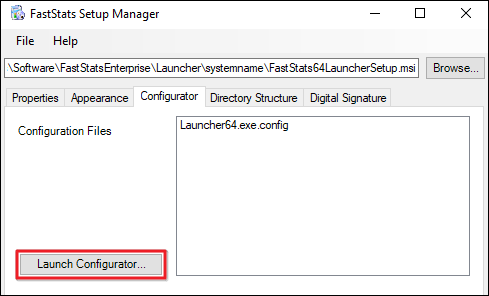
-
Update the Application Base URL and the Application Configuration File to use the web server address:
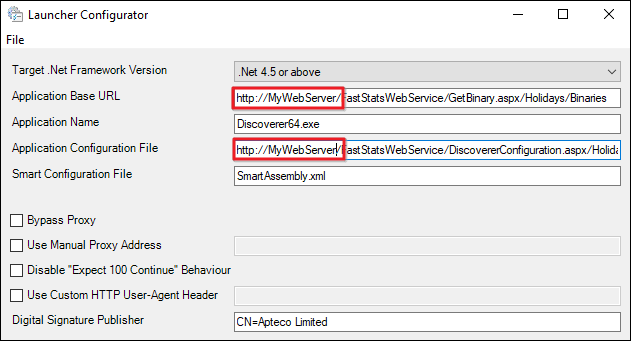
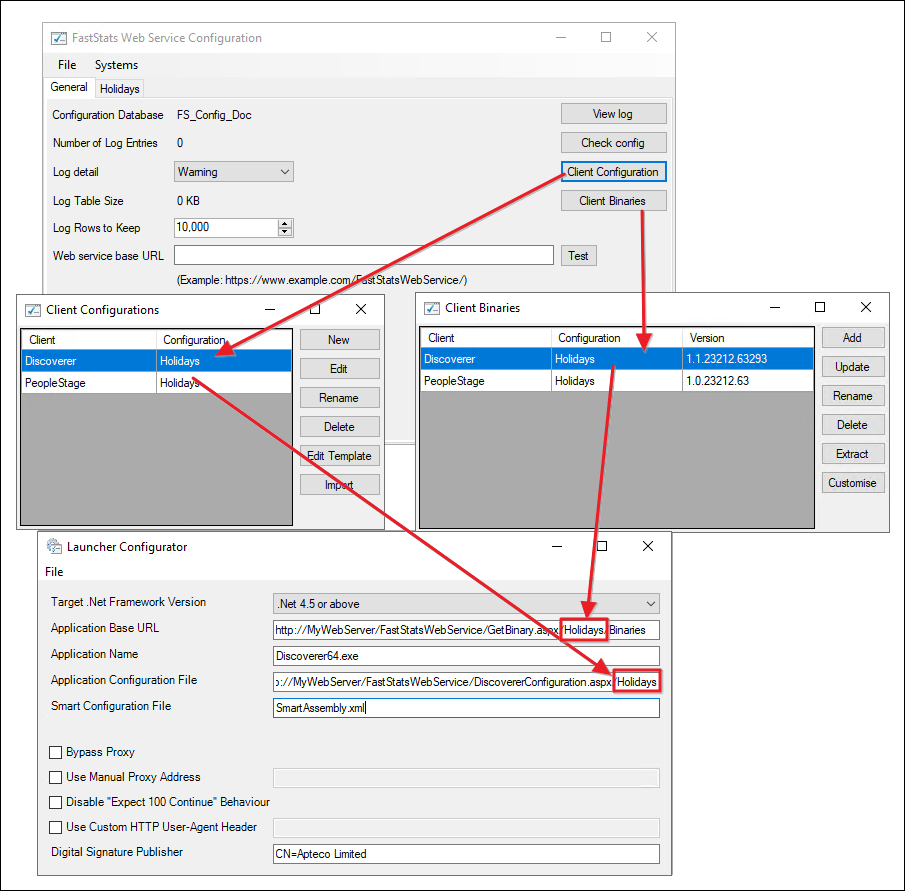
Field Value Application Base URL http://MyWebServer/FastStatsWebService/GetPeopleStageBinary.aspx/Holidays/Binaries(replacelocalhostwith your web server name andHolidayswith your Binaries name if different)Application Configuration File http://MyWebServer/FastStatsWebService/PeopleStageConfiguration.aspx/Holidays(replacelocalhostwith your web server name andHolidayswith the FastStats Client configuration name if different)Note
Once configured, the system installs the Application Configuration File onto the client's machine. This gives the client Binaries and PeopleStage Client settings to retrieve from the FS_Config database via the FastStats Web Service:
http://MyWebServer/FastStatsWebService/GetBinary.aspx/FastStats/Binaries -
Choose File > Save to save the
Launcher64.exe.configfile back into the MSI. - Close the Launcher Configurator window to return to Setup Manager.
Directory structure tab
- Expand Desktop and Programs Menu using +.
- Paste the same shortcut names you set for Product in the Properties tab.
- Right-click on these and select Rename.
Digital signature
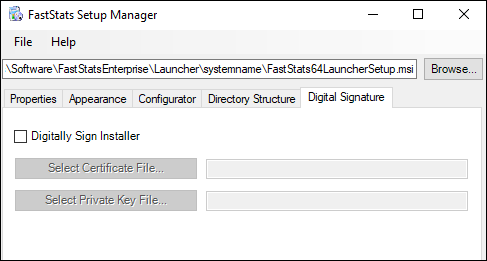
If you need to set up a digital signature for the launcher:
- Tick Digitally Sign Installer and select the Certificate File and Private Key File.
- Once the launcher setup changes are complete, choose File > Save to save the MSI.
-
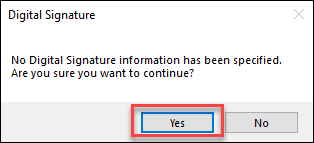
Select Yes on the 'No Digital Signature information has been specified, are you sure?' message if you don't need a digital signature.
-
If you have a digital certificate, apply it here if required.
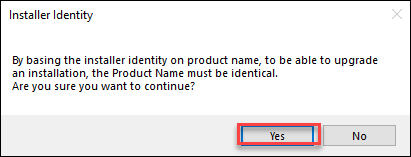
This ensures the product installs only once on a user's machine.
Moving the launcher installer to your web server
On your web server, the base directory is by default C:\inetpub\wwwroot\. When translated to a browser address, this is http://MyWebServer/.
The Launcher directory serves the PeopleStage application to your clients. Create a separate folder for each system underneath this folder. When translated to a browser address, this is: http://MyWebServer/Launcher/Holidays/.
Copy files
Copy the following files to the system folder (find these in the PeopleStageEnterprise.zip Launcher/systemname/ directory):
PeopleStage64LauncherSetup.msi: the launcher file you configuredLaunchPage.htmlAptecoHTMLpages.css, thejsdirectory, and theimagedirectory
Editing the launch page
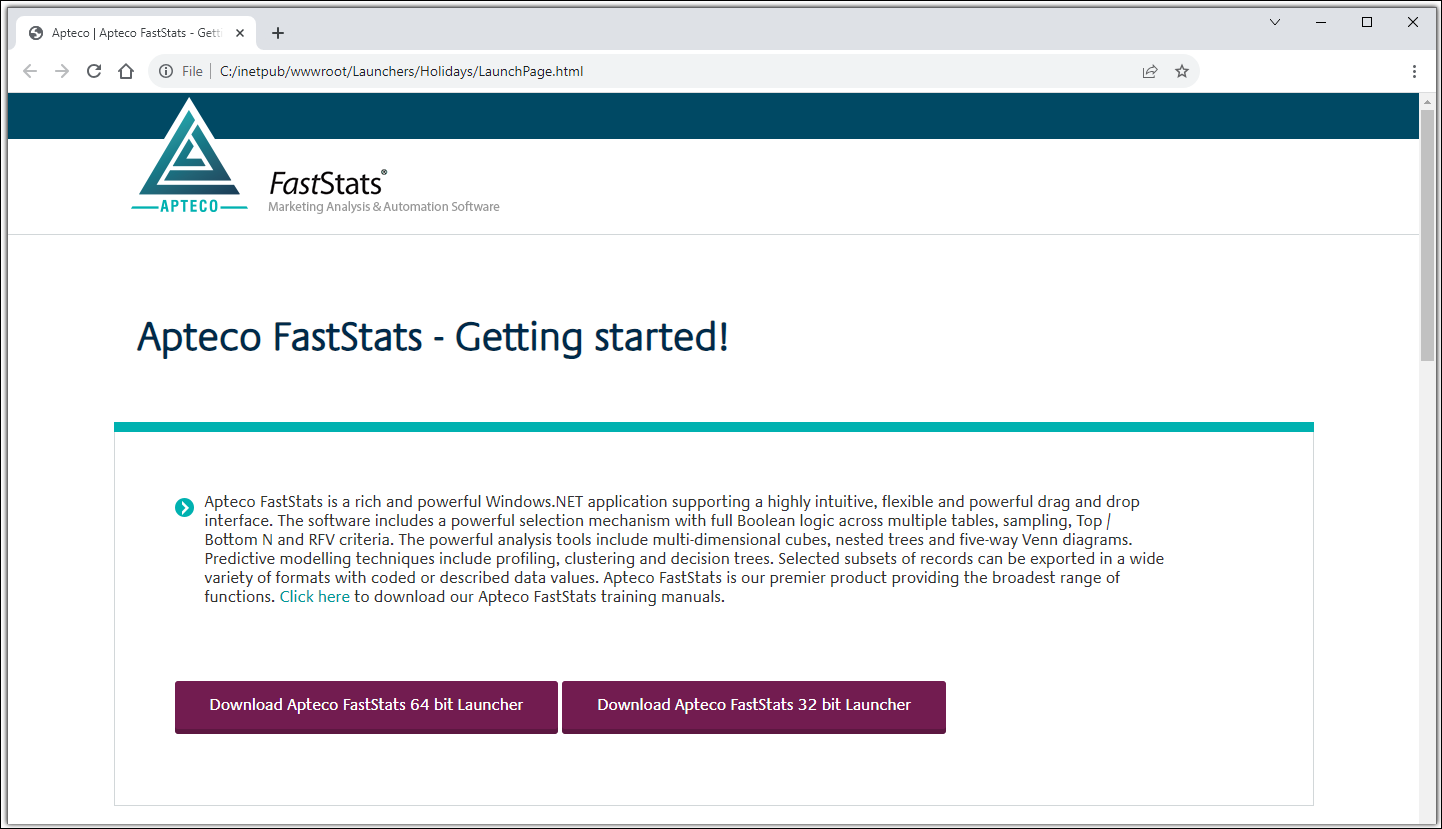
The LaunchPage.html provides end users with an easy page to download the launcher from. By default, it includes FastStats launcher links. The following process replaces the FastStats 32-bit launcher with the PeopleStage 64-bit launcher.
If you open the launch page in a browser, it looks like this:
To change the FastStats 32-bit launcher to the PeopleStage 64-bit launcher:
-
Open
LaunchPage.htmlin a text editor such as Notepad++.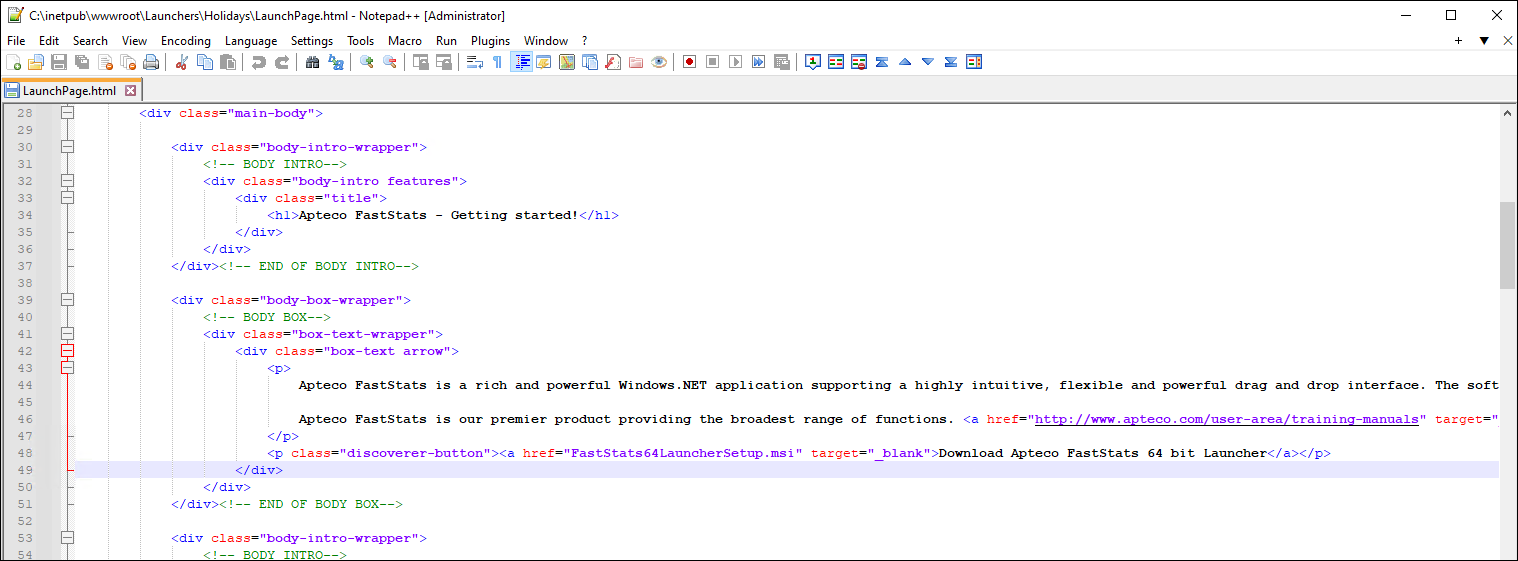
-
On line 49, change the following:
- File name:
href="../FastStatsLauncherSetup.msi"→href="../PeopleStage64LauncherSetup.msi" - Link text:
Download Apteco FastStats 32 bit Launcher→Download Apteco PeopleStage 64 bit Launcher
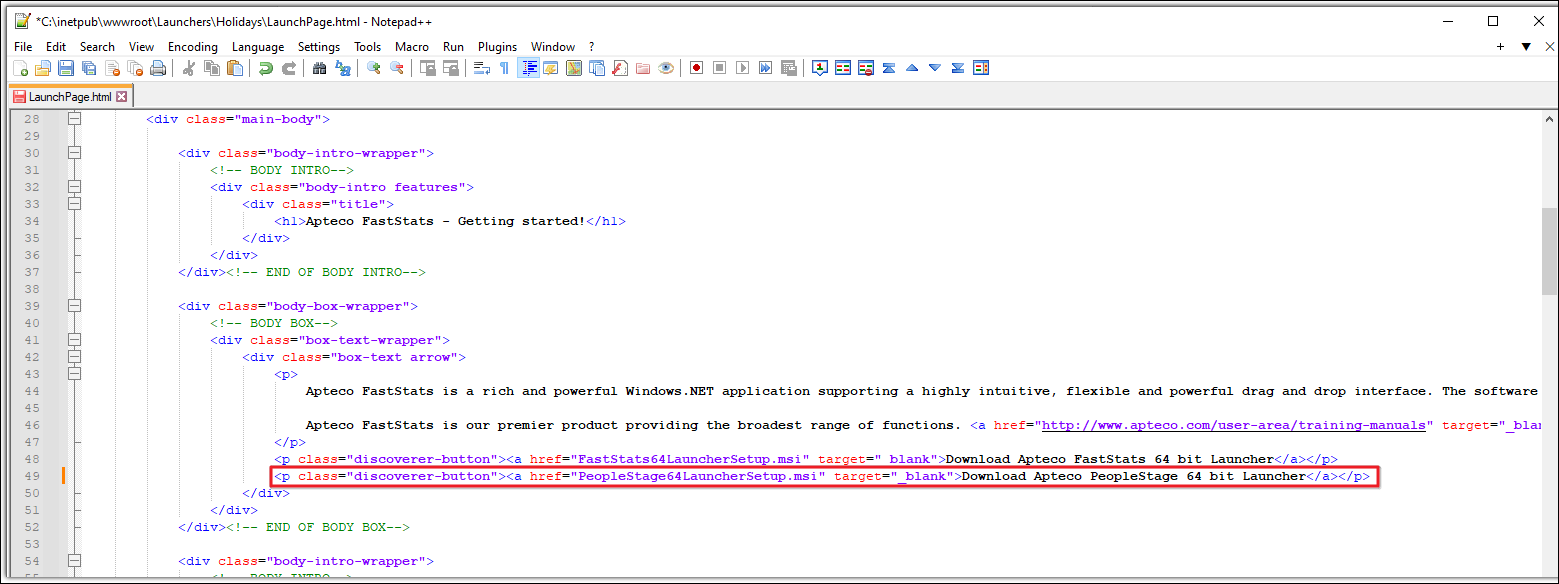
- File name:
-
Save the file and open it in a browser to verify the changes.
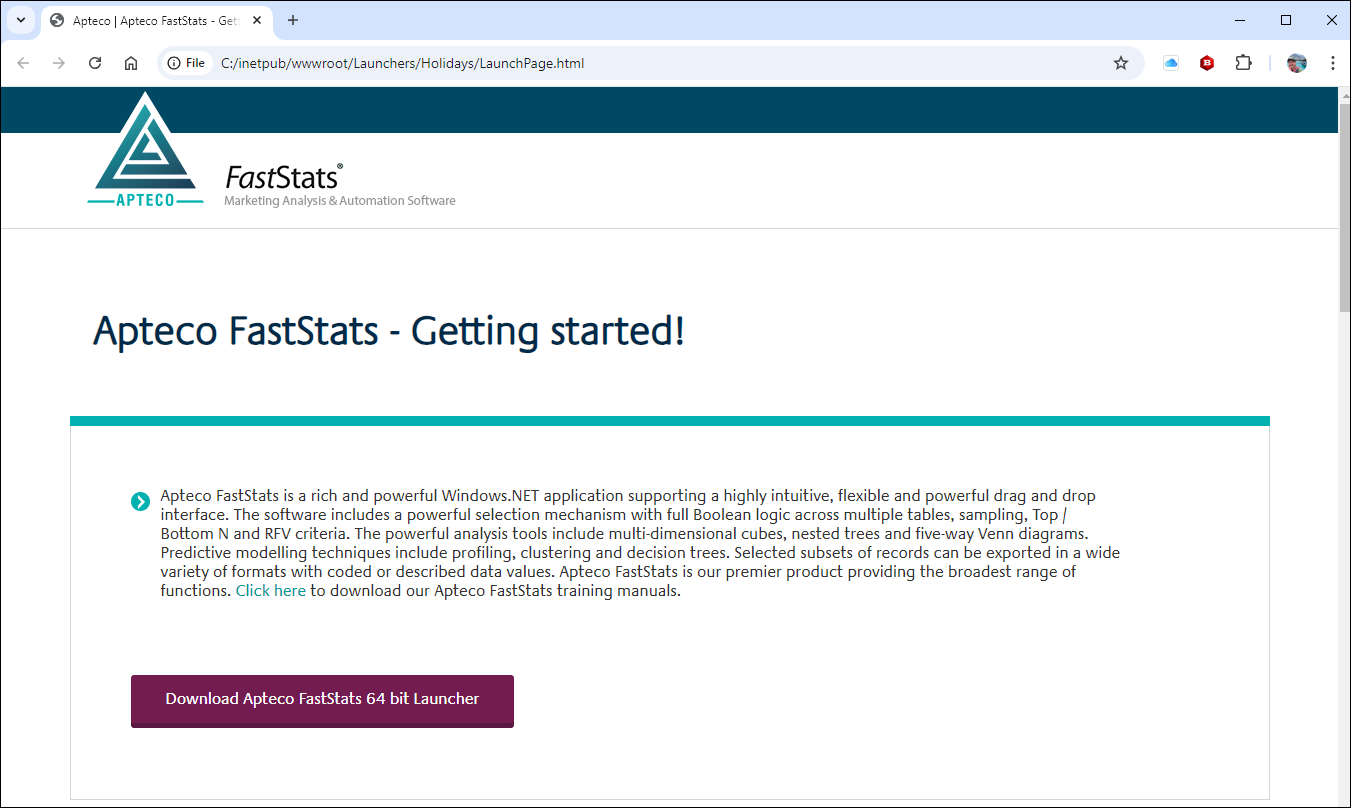
-
Select Download Apteco PeopleStage 64 bit Launcher to confirm the MSI downloads.
Send clients the launch page
Send clients the following install link: http://MyWebServer/Launcher/Holidays/LaunchPage.html