Landing pages
Landing pages are standalone web pages created to convert visitors into leads or customers. They focus on a single objective, such as promoting a product or capturing sign-ups, with a clear Call to Action (CTA).
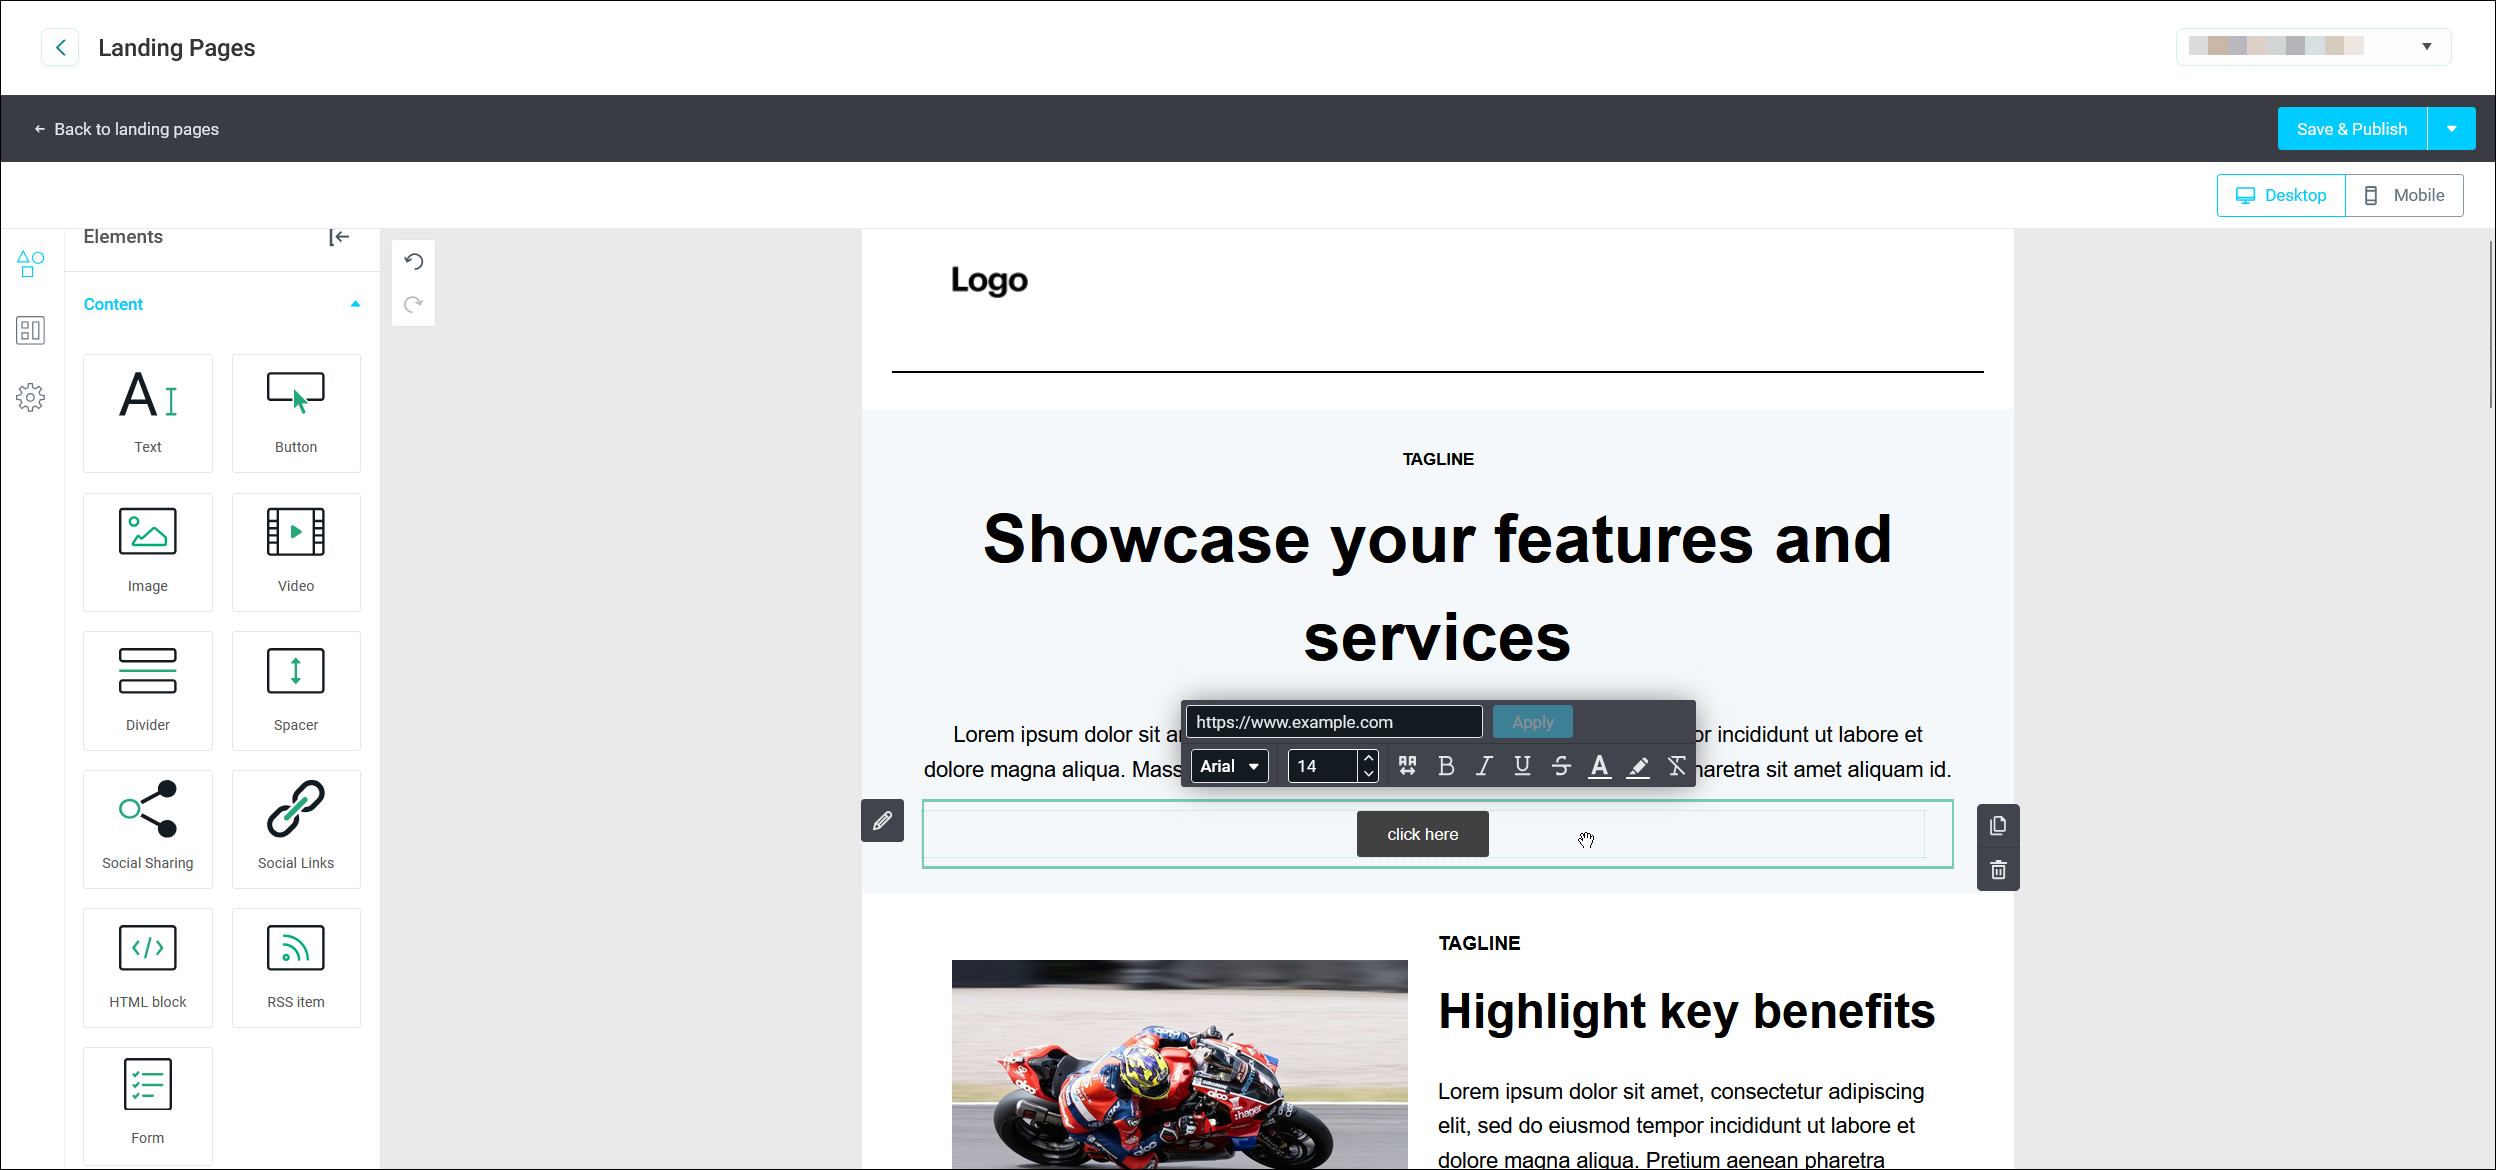
With the Orbit template builder, you can quickly create standalone landing pages without needing to link them to your website.
Key benefits
- Embed forms with the Form builder to collect visitor information
- Familiar drag-and-drop interface to the Email builder
- Live editing of published pages for real-time updates
- Enhance branding with custom URLs, subdomains, SEO settings, and page descriptions
Note
Available for Apteco Email users.
Example use cases
Event registration
Promote events like webinars by simplifying attendee sign-ups. For example, a software company uses a landing page for registrations and event details.
Key features:
- A form to capture attendee information
- Event details (date, time, agenda)
- A clear CTA like "Register Now"
- A branded URL for easy sharing
Product launch or promotion
Generate excitement for new products or discounts. For instance, an e-commerce store highlights seasonal offers with a "Shop Now" CTA.
Key features:
- Product images and descriptions
- Countdown timers for limited-time promotions
- Forms for pre-orders or sign-ups
- SEO-optimised metadata for visibility
Lead generation campaign
Capture leads for sales teams or email lists. For example, a B2B company offers a free whitepaper in exchange for contact details.
Key features:
- Focused design with a single CTA like "Download Now"
- Simple forms to collect key details
- Highlighted benefits, such as exclusive resources
- Branded URLs for a professional look
FAQs
-
Can I link landing pages to my website?
Landing pages are standalone but can be linked from your website, emails, or ads.
-
How many landing pages can I create?
You can create up to 100 landing pages per sub-account.
-
Do I need extra licensing?
No additional licensing is required. Landing pages are included with your sub-account.
-
Can I use a custom domain?
Yes, subdomains can be set up for custom branding. Contact Apteco support for DNS configuration.
Creating a landing page
The landing page creation process is similar to creating an email template.
To create a landing page:
- In the Campaigns area, click Template Builder.
-
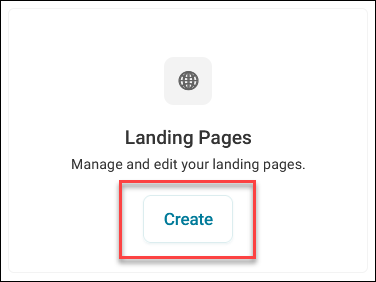
Under Landing Pages, click Create.
-
Click Create a new page.
-
Choose a template and click Select.
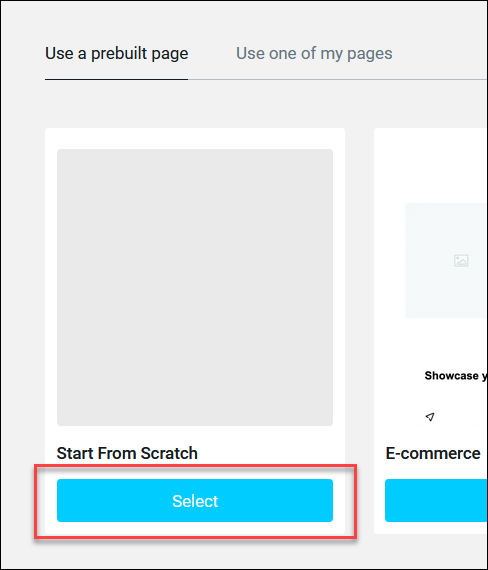
- You can select a prebuilt page for a quick start or a blank layout for complete customisation
- Alternatively, select a page you’ve created earlier
-
Give your new page a meaningful name, such as Product Launch Promo or Event Registration Page.
This name helps you locate the page later in the list of landing pages.
-
Click Use this page.
-
Customise your page design.
Use the drag-and-drop editor to design your page. See Email builder.
-
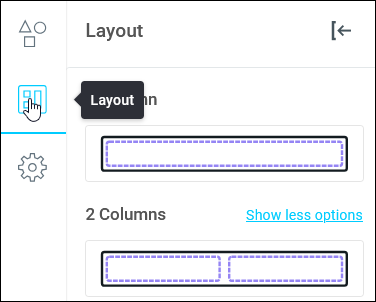
Layouts: These make up the building blocks of your template.
-
Text: Add headings and body text. Use concise, compelling language to highlight key benefits and your Call to Action (CTA).
-
Images: Select visuals from the Image gallery or upload your own to support your message.
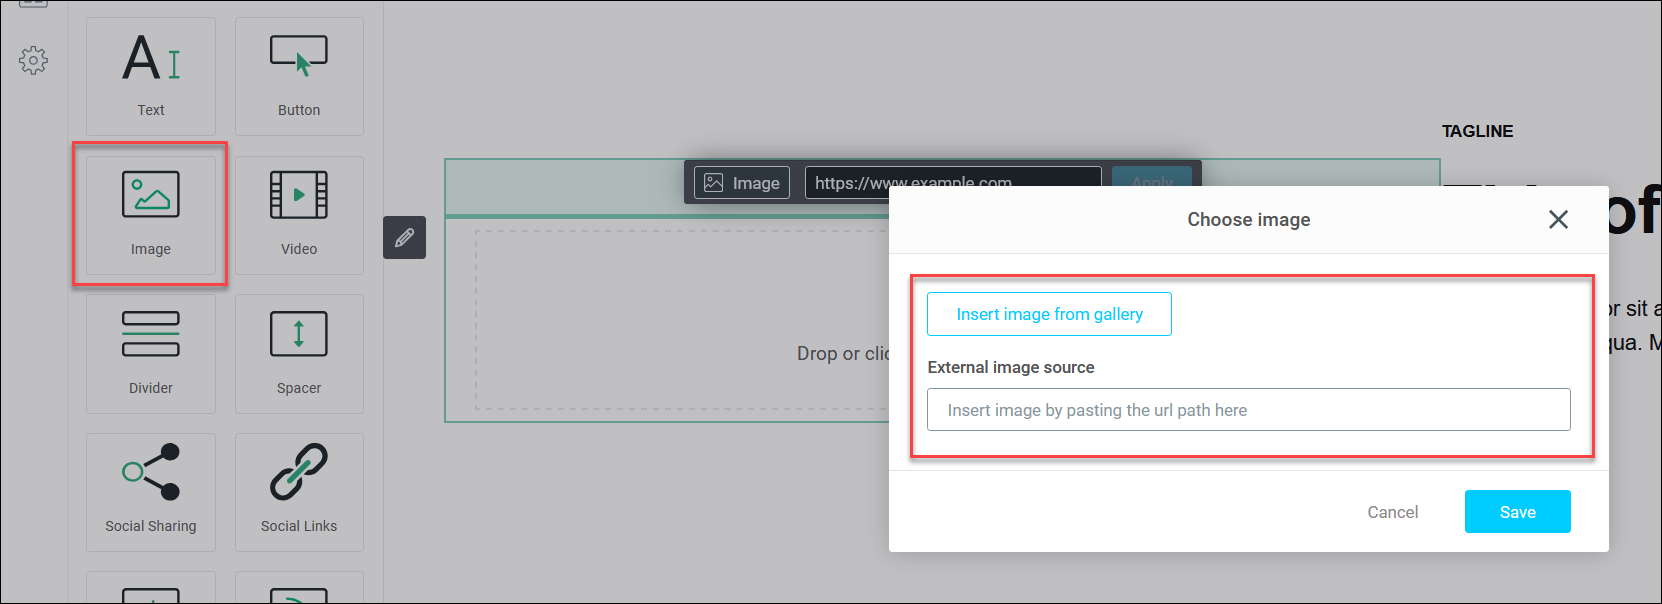
-
Forms: Embed forms you’ve built in the Form builder. Either select a form from the dropdown menu or create a new one.
Note
Ensure your form is published and configured before embedding it into your page.
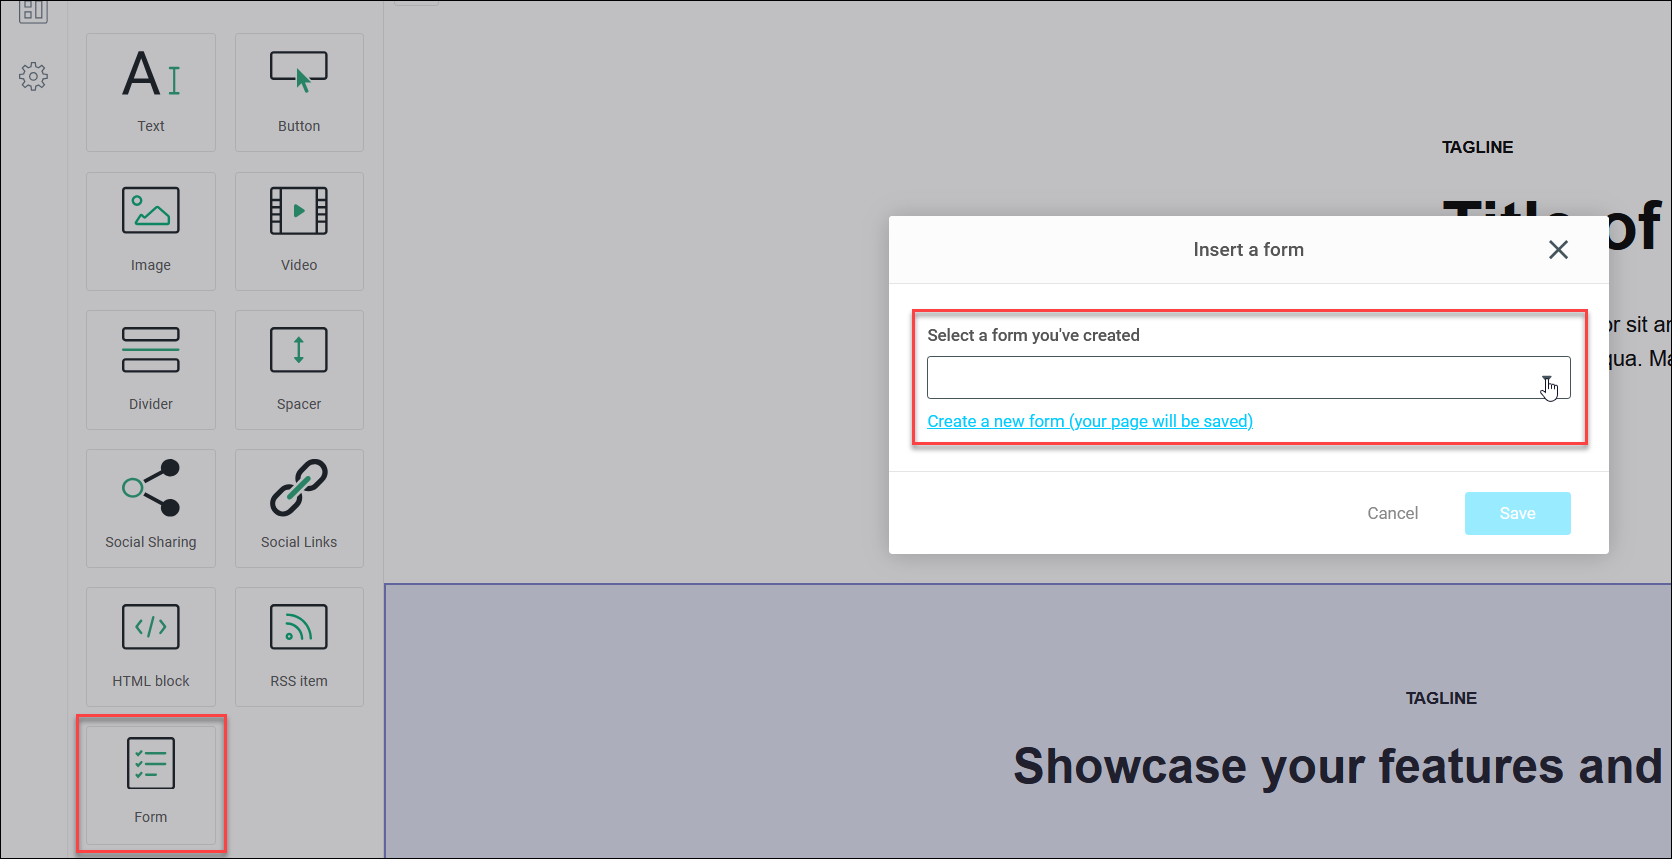
Once embedded, Orbit starts collecting any form information recipients provide.
-
-
Preview your landing page with either Desktop or Mobile view to ensure the design and functionality meet your expectations.
-
Click Save & Publish to make the page live and generate a shareable URL.
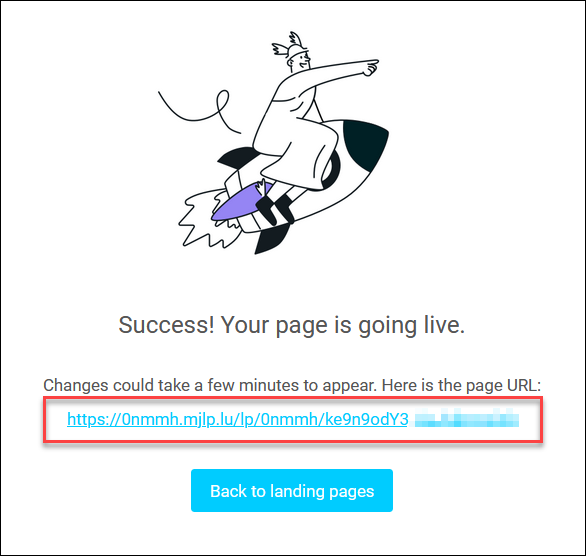
You can click on the generated URL to see your landing page.
You have now created and published a live landing page.
Note
You can edit your live page without needing to republish. Changes are applied instantly, making real-time updates easy.
You can now manage your landing pages and optimise the settings.
Best practices
- Focus on a single, clear objective (e.g., sign-ups, purchases)
- Use compelling headlines, high-quality images, and a concise message
- Minimise form fields to improve completion rates
- Test your page on multiple devices to ensure a responsive design
- Use branding consistently with logos, colours, and custom URLs
Managing your landing pages
You can manage and update your landing pages after publishing.
Boost your landing page performance through page Settings with custom URLs, subdomains, SEO settings, and page descriptions for improved visibility, usability, and user experience.
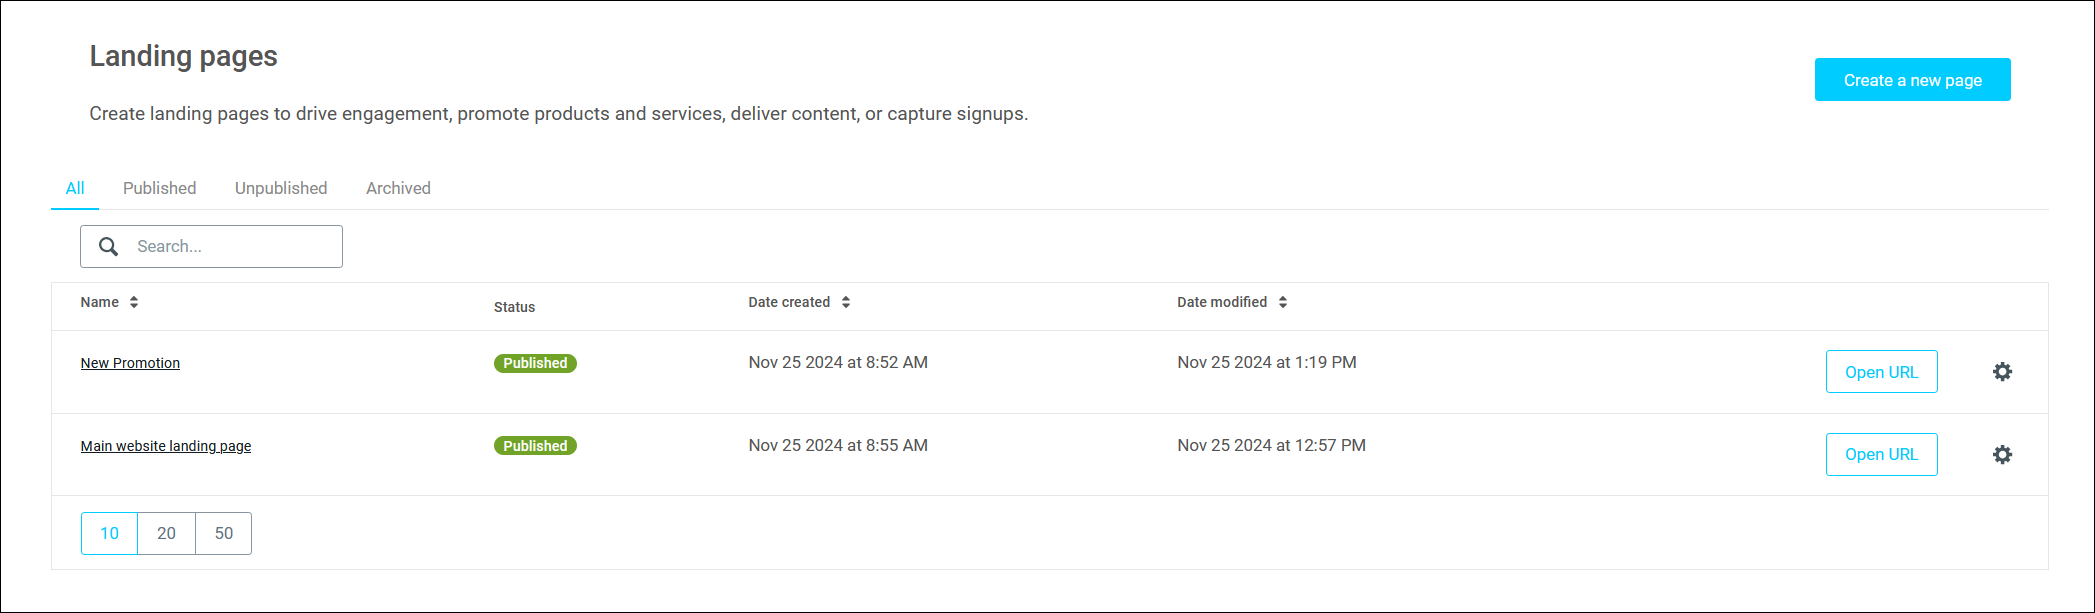
To manage your forms:
- Go to your landing pages through the Template Builder.
-
You can filter your landing pages by:
- All
- Published
- Unpublished
- Archived
-
Click Open URL to see your live landing page website.
Landing page settings
To access page settings:
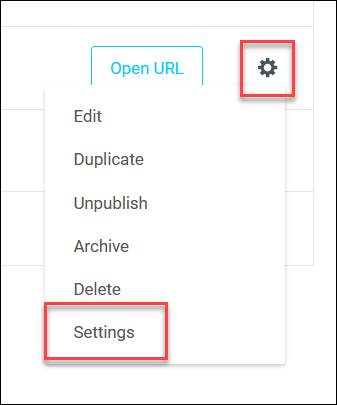
- Click the gear icon next to your landing page.
-
Click Settings.
-
Change the name of you landing page.
-
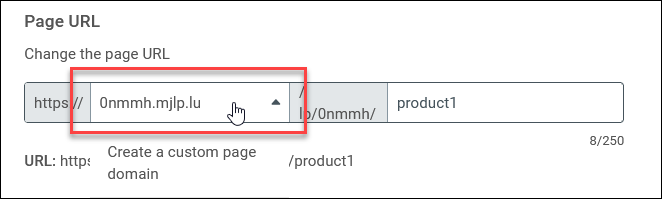
Customise the URL to improve link relevance.
For a professional look, use branded subdomains, keeping in mind that DNS configuration may be required.
Note
For the domain to be activated, please ensure that the CNAME record has been added in your DNS settings hosted by the DNS provider.
Tip
You can also set up branded page domains for landing pages.
-
Customise the Favicon, the small icon that appears in the browser tab.
- Optimise the SEO of your page and manage social share settings to improve page discoverability.
-
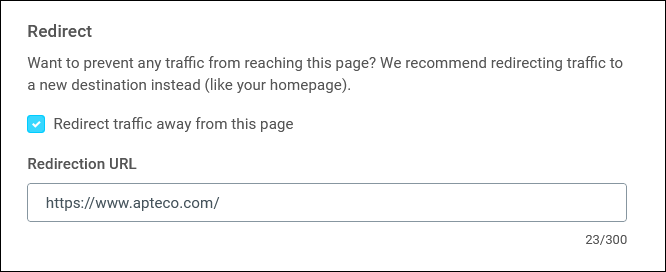
You can also redirect traffic from the landing page to a new destination, like your main website.
Landing page additional options
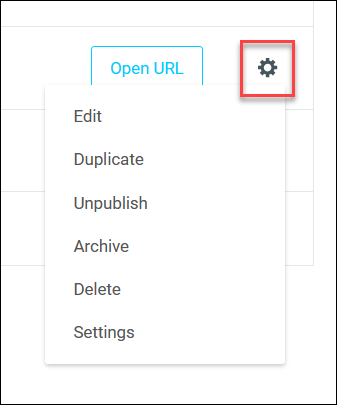
Click the gear icon next to your landing page to see the available options.
-
Edit the content and design of your page
Note
You can edit your live page without needing to republish. Changes are applied instantly, making real-time updates easy.
-
Duplicate a page for similar campaigns
- Unpublish a page to temporarily remove it from public view
- Archive a page to move it to the Archived tab
- Delete a page to remove it permanently
- Settings provide much more customisation options