Using campaigns
To access the Campaigns screen in Orbit, click Campaigns at the top of your screen. This displays all your campaigns, ordered by the most recent campaign activity. Use the grid and list view icons to switch between a grid view and a list view. Orbit remembers your choice the next time you visit the Campaigns screen.
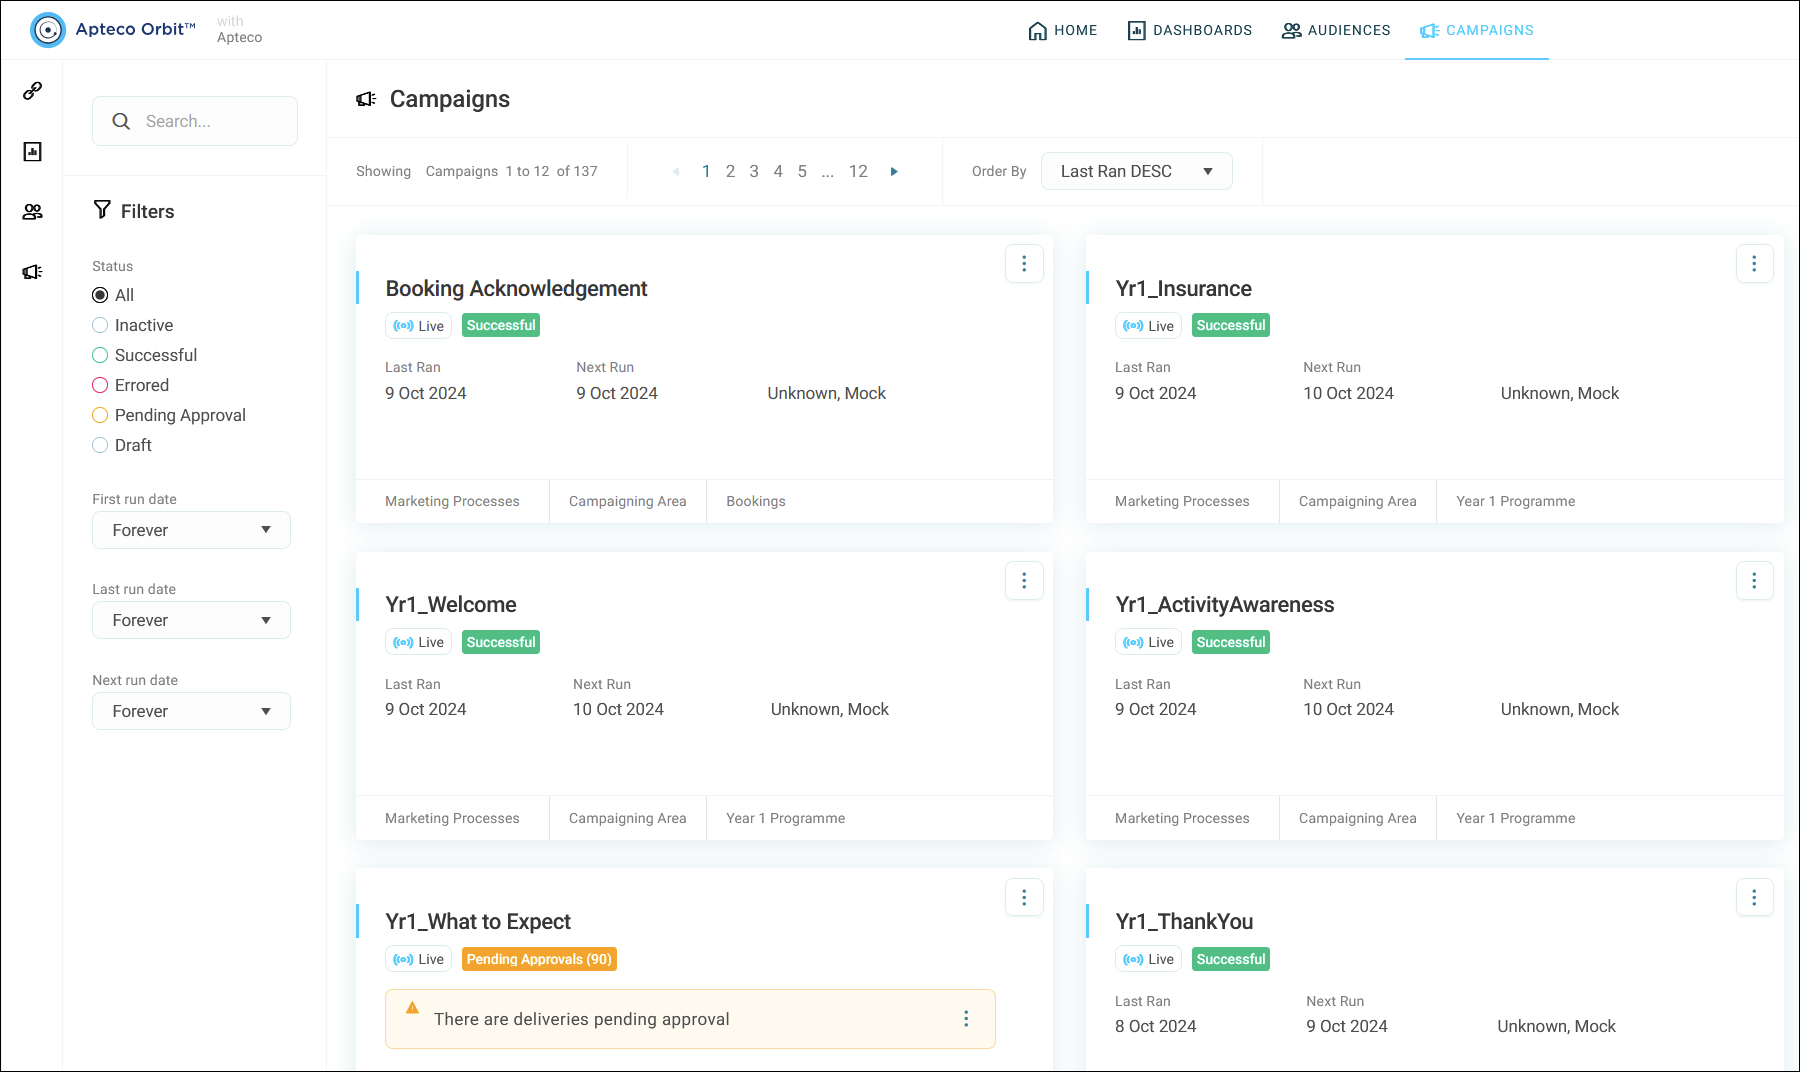
Each campaign tile shows a summary, including:
- Campaign status
- Last run date
- Schedule information
You can quickly assess the status of any campaign and navigate to the Overview tab as needed by clicking on the campaign.
Note
You can navigate to a specific campaign area from the bottom of a campaign tile.
Moving a campaign
You can move your draft campaigns between folders while also creating any copies required. This allows you to adapt quickly when organising your campaigns in a way that best suits your workflow.
Info
The move and copy options available depend on the campaign's current state. You can move or copy draft campaigns. You can only copy published campaigns, not move them.
Note
When Duplicating a campaign, Orbit only copies the campaign to the same location.
Note
To move a campaign or create a copy, you must have the Create Rights role.
To move a campaign:
- In the Campaigns tab, locate the campaign that you want to move.
-
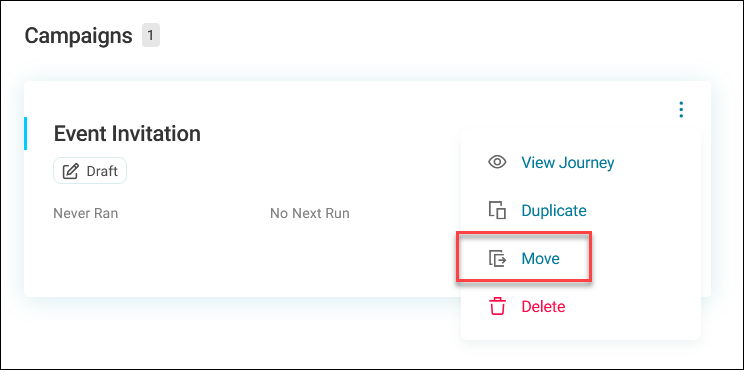
Expand the option menu, and click Move.
-
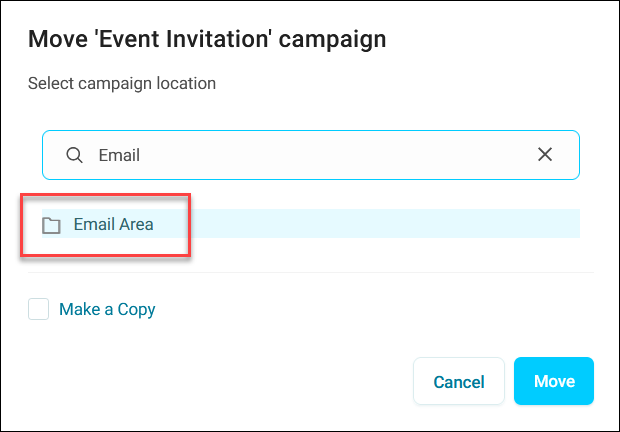
In the move dialog box, navigate to or search for a destination folder.
-
Select the location where you want to move the campaign.
-
You can optionally create a copy of a campaign when moving it by ticking the Make a copy box.
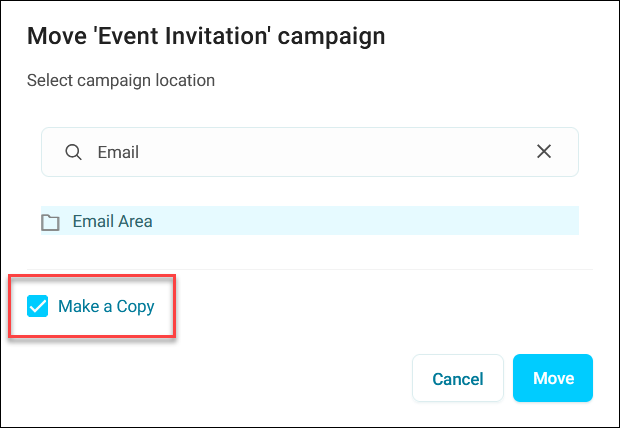
When you make a copy, Orbit creates a duplicate of the campaign in the selected location while keeping the original in its current location. This allows you to maintain original campaigns while creating variations.
-
Click Move.
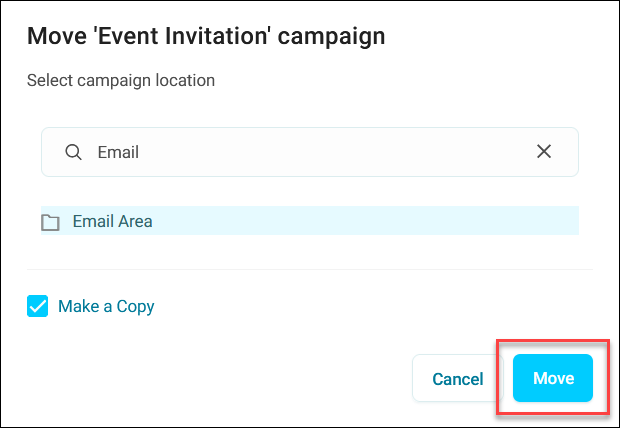
You can now find your campaign the selected location.
Note
When you successfully move or copy a campaign, you can now navigate directly to it through a confirmation message with a link to the new location.
Renaming a campaign
You can rename campaigns to keep them organised and ensure their names accurately reflect their purpose or audience.
To rename a campaign:
- Go to Campaigns and open your campaign.
- Click the Journey tab.
- If you're in view mode, click Edit.
-
Rename it using either method:
- Click directly on the campaign name, then click away or press Enter to confirm.
- Expand the option menu, click Rename, enter a new Campaign Name, and click Rename.
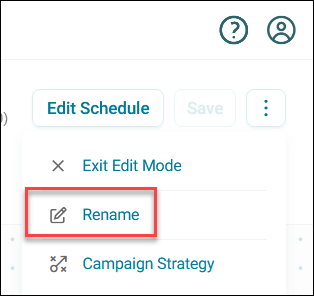
Your campaign name updates immediately.
Duplicating a campaign
You can create duplicate campaigns while preserving all personalised settings and configurations. This saves you time and effort by eliminating the need to build new campaigns from scratch.
Duplicating campaigns is particularly useful when setting up complex multi-stage campaigns, providing a convenient starting point for creating similar campaigns.
Key benefits:
- Save time by avoiding recreating campaigns from scratch
- Retain all settings defined in setup messages, stage names and diagram structure
Note
When duplicating a campaign, Orbit only copies the campaign to the same location.
To duplicate a campaign:
- Go to the campaigns screen.
- Expand the option menu of the campaign that you wish to duplicate.
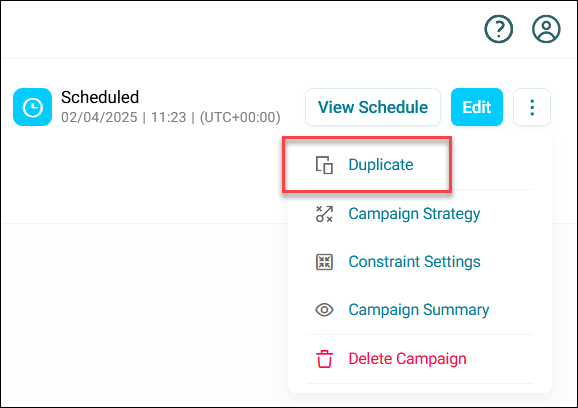
- Click Duplicate.
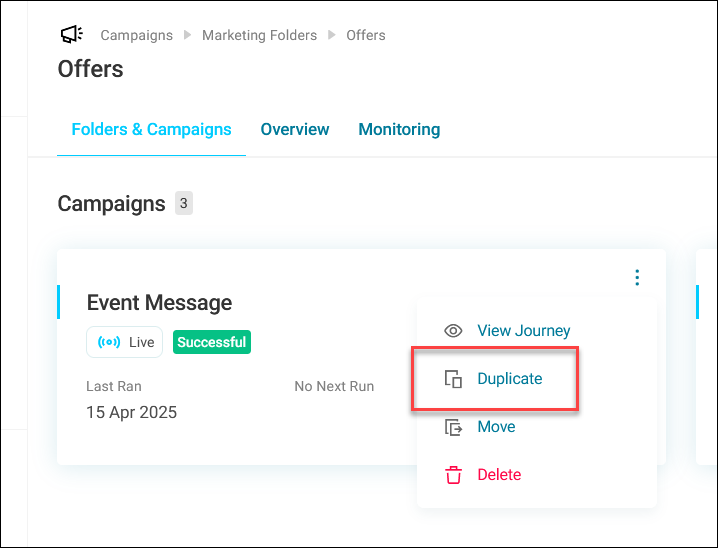
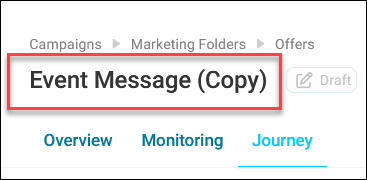
Orbit generates a copy of the campaign and opens the journey builder in edit mode, allowing you to immediately edit your new campaign.
The duplicate campaign includes a reference to the duplication in its title to avoid confusion with the original.
Tip
You can also duplicate a campaign directly from the journey builder.
Note
The duplicate campaign receives a new campaign ID, meaning communication history does not transfer.
Note
Duplicate campaigns remain in the same folder as the original.
Deleting a campaign
To delete a campaign:
- Click the option menu on the campaign tile.
- Click Delete.
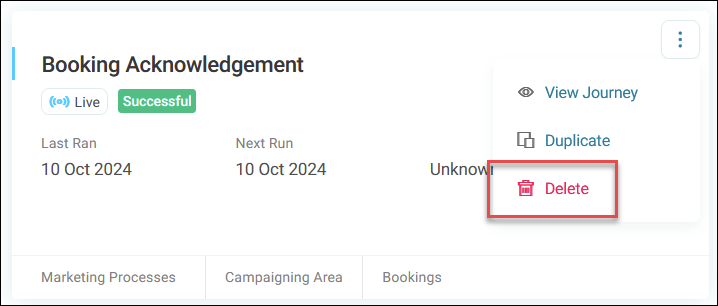
You have now deleted your campaign.
Note
Deleting a campaign in Orbit also deletes the same campaign in PeopleStage. The campaign will stop recording any further communication history.