Salesforce
Using Orbit Connect, you can bring in Salesforce data to combine and supplement data from your other external systems. Once imported, you can map this data to a User Defined Table or, if you use the Apteco Customer Data Platform (CDP), to a Customer Data Table, where you can also apply ID resolution and validation rules.
Pre-requisites
Note
Before creating a Salesforce data source, your system administrator must set up and configure your Salesforce data for access by Orbit Connect. For more information, see the following Salesforce technical documentation.
You'll need three pieces of information from your Salesforce environment:
- The URL of your Salesforce My Domain
- Your Consumer Key
- Your Consumer Secret
Without these items, you can't proceed with setting up this data source type.
Creating a Salesforce data source
To create a Salesforce data source:
- In Orbit Connect, go to Data Sources and select + New Data Source.
- Next to Salesforce, select Connect.
- Enter a Data Source Name and select Create.
-
From the Credential list, select + New Credential.
If you've already added a Salesforce credential, choose it instead and go to step 6.
-
Enter the following details, then select Add:
- Credential Name
- My Domain (Instance URL)
- Consumer Key
- Consumer Secret
-
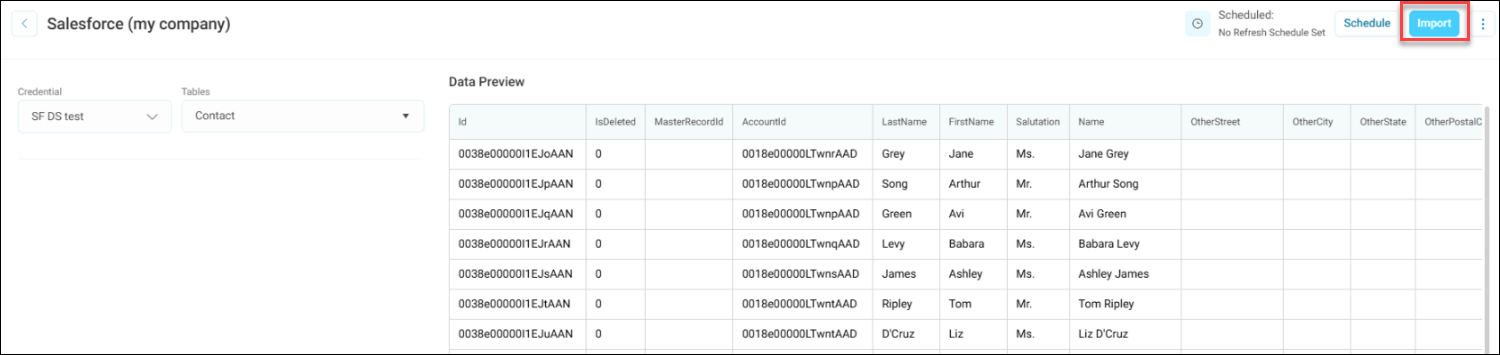
From the Tables list, search for and select the table you want to import.
A preview of the data appears.
To import the results of your own SOQL query instead, select Custom Query. For more information, see Custom queries.
-
Select Import to send the data into the staging database.
-
Repeat these steps for each table you want to import from Salesforce.
You can now map your data to a User Defined Table or, if you use the Apteco CDP, to a Customer Data Table.