Meta Ads
You can integrate Orbit with Meta’s advertising ecosystem, including platforms like Facebook and Instagram. This allows you to create, manage, and optimise advertising campaigns.
This integration revolves around custom audiences. Specific groups of users you want to target for your campaigns.
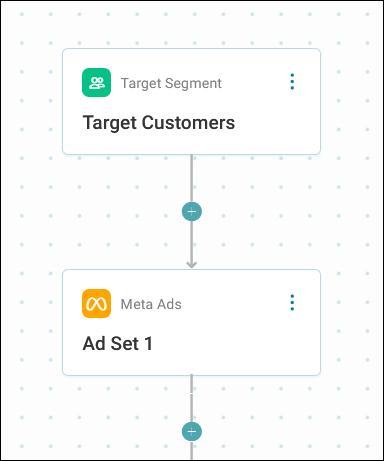
Meta’s advertising structure is organised hierarchically:
- Campaigns: Define your overarching goal, such as increasing website visits or lead generation
- Ad Sets: Allow segmentation by audience type, testing which group performs best, with each ad set targeting a unique audience
- Ads: Contains the actual content, such as images, videos, or text
Meta's advertising platform operates primarily at the ad set level, where the audience data is uploaded and configured. Once the audience matches Meta’s user database, the campaign can begin broadcasting.
Note
While you can create your own Meta app to manage this integration, using the Apteco app streamlines the process, saving significant time and effort. Setting up your own Meta app is more complex and is only recommended for administrators with advanced technical skills or unique customisation needs.
Example use cases
Promoting a seasonal sale
Your retail company wants to promote its annual Spring Sale to previous customers while avoiding users who have already made a purchase.
You can:
- Upload a custom audience of past customers (e.g., those who purchased in the past 12 months).
- Use an exclusion file for users who have already redeemed this offer.
- Run the campaign on Meta Ads and a parallel email campaign for consistent messaging.
Outcome: Increased engagement and reduced ad spend by targeting the right audience.
Expanding audience reach with lookalikes
Your travel agency wants to promote new holiday packages to a broader audience.
You can:
- Upload a list of high-value customers who booked premium packages last year.
- Generate lookalike audiences with a 1-2% similarity ratio to reach new but relevant users.
- Target these lookalikes for the campaign.
Outcome: Attracted new leads with similar interests, expanding audience reach.
Connecting Meta/Facebook to Orbit
To connect Meta Ads to Orbit, you need to configure your connection with Meta through your Orbit account settings.
Prerequisites
Before setting up your Meta Ads integration, ensure that you have the following:
- A Meta Ads Manager account with Admin permissions
- A Meta account is linked to your organisation's Orbit account
- Access the required Facebook pages or Ad accounts
If you don’t have access, then you’ll need to send an invitation email to someone who does.
Setting up the connection
To set up Meta Ads in Orbit:
- In Orbit, click your avatar in the top-right corner.
- Click Account Settings.
-
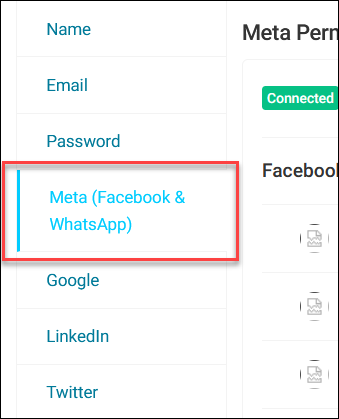
Click Meta.
-
Follow the on-screen prompts to connect your Meta account via the Apteco app.
- If you already have permissions, you can continue the connection process.
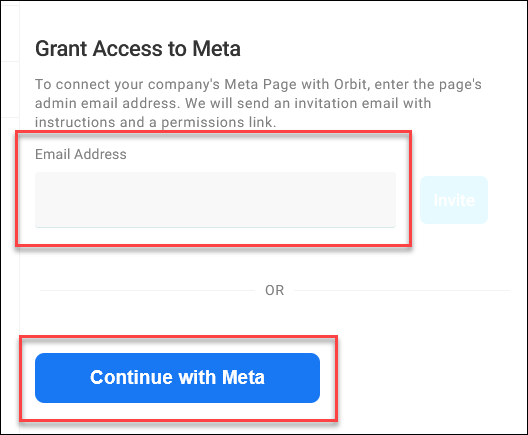
- If you lack permissions, enter the email address of the person with Meta account administrative access. Orbit sends them an invitation email.
The recipient clicks the link in the email, logs into Orbit, and grants the necessary permissions by selecting Continue with Meta.
-
Once the permissions are granted, log into your Meta account through the Apteco app.
-
Choose the Facebook pages and Ads Manager accounts you want to link.
-
Meta allows granular control over permissions. Ensure you grant access for the following:
- Posting content to linked Facebook/Instagram pages
- Uploading custom audience lists to ad sets
- Accessing campaign performance data
Select the relevant permissions in Meta based on your campaign objectives and confirm.
After granting permissions, Meta generates a token associated with your account. This token enables secure data transfer between Orbit and Meta. The token automatically activates once permissions are in place.
-
Confirm the connection in Orbit. If this is a new setup, then you’ll need to log into Meta again to authenticate and finalise the token link.
You're now ready to create your Meta Ads channel.
Creating a Meta Ads channel
To use Meta Ads in your campaign journeys, you need to create a Meta Ads channel.
To create a Meta Ads channel:
- Click your avatar in the top-right corner.
- Click Application Settings.
- Click Campaigning Channel Editor from the left-hand menu, then click Edit.
- To add a new Meta channel, click + Item.
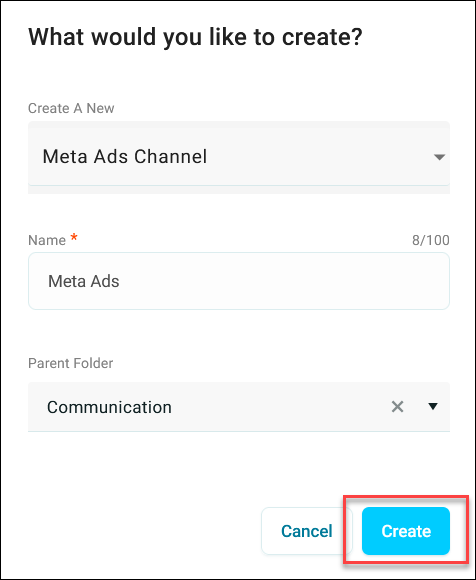
- Select Meta Ads as the channel type.
-
Give your channel a meaningful name and organise your folder structure.
Note
To edit an existing channel, find and click on the channel from the menu.
-
Click Create.
You can now begin setting up your Meta channel.
Configure your Meta Ads channel
To configure your Meta Ads channel:
-
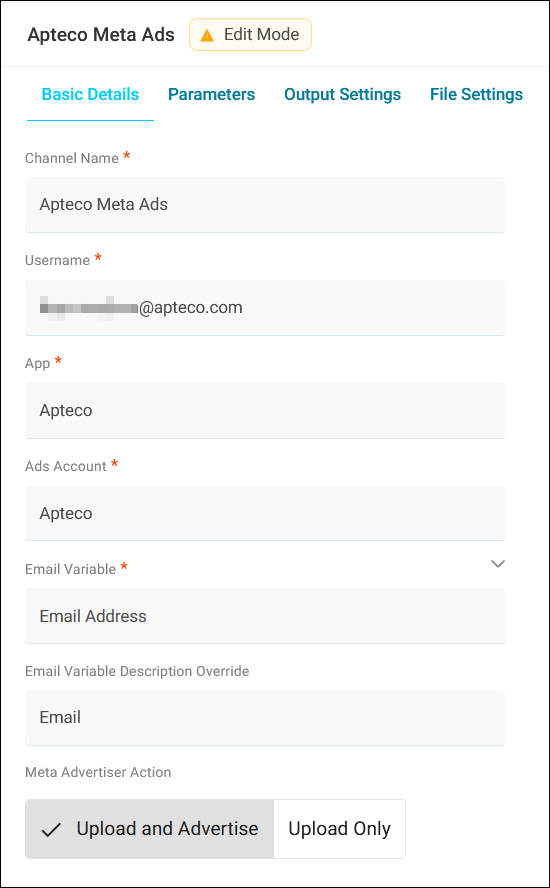
Configure your basic details:
- Channel name: A descriptive name for your Meta Ads channel
- App: Select the Apteco app (default) or your custom Meta app
- Ads Account Name: Select your connected Meta Ads account
-
Select the Email Variable to use.
Note
You can select a hashed email address. This supports secure data sharing from systems that store only hashed contact details.
-
Choose the Meta Advertiser Action:
- Upload only: Upload the audience list to Meta without linking it to an ad set
- Upload and Advertise: Upload the audience list, match it in Meta, and attach it to an ad set
-
Set up the parameters and output settings.
Note
When you upload a custom audience, any demographic details (e.g., interests, age groups, genders) previously added to the ad set in Meta are overwritten. Ensure all necessary demographic details are included during the channel setup in Orbit.
- Specify the target countries or country groups where you want the campaign to run
- Define the time span for the campaign (e.g., how long it should remain active)
- If using lookalike audiences, configure the similarity ratio and country targeting for the lookalikes
- Choose whether to append to an existing audience or replace the audience entirely
Note
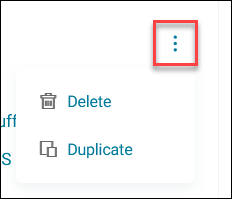
You can delete or duplicate a Meta Ads channel by clicking the option menu next to the channel.
-
Click Save.
You’ve now set up your Meta Ads channel and can begin creating your Meta Ads campaign.
Using Meta Ads in campaigns
With your Meta channel ready, you’re now prepared to set up a Meta Ads campaign in the Orbit journey builder.
To set up a Meta Ads campaign journey:
- From the Orbit homepage, select Campaigns.
- Either select an existing campaign, or create a new one.
- Click the plus icon on your journey where you want your Meta Ads message step.
-
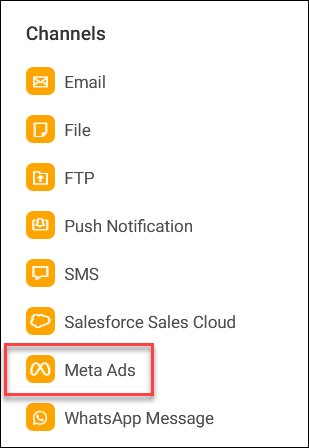
Select Meta Ads under Channels.
-
Click the option menu on your Meta Ads step, then click Edit.
- Give your step a meaningful name, then click Create.
This opens the side panel.
Setting up your Meta Ads message step
You can now upload and configure an audience inclusion file and an audience exclusion file.
To set up your Meta Ads message step:
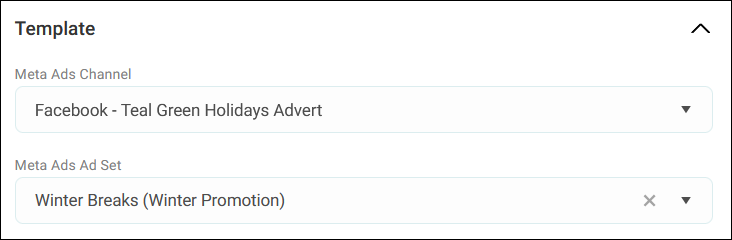
- Select the Meta Ads channel you created.
-
Select which Meta Ads Ad Set you require.
Note
Ensure your ad sets are configured in Meta beforehand, as Orbit uploads the lists directly to the selected ad set.
-
Choose to upload one or both of the following:
-
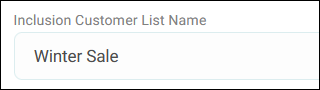
Inclusion file: Specifies the audience you want to target. This file, named under Inclusion Customer List Name, determines which users are served ads. For example, Winter Sale Audience.
-
Exclusion file: Specifies which audiences are excluded. For instance, you can exclude users who are new customers or those who have already redeemed an offer.
Click + Add Audience to add an exclusion list.
Note
During the audience matching process, Meta matches the inclusion list first. This process typically takes less than an hour.
Once the inclusion audience is matched, the exclusion list is processed separately. This ensures excluded users do not see the ad.
-
-
Select your Target.
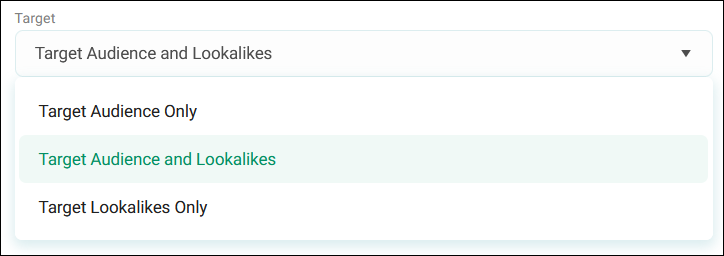
Your options include:
- Upload a target audience only (e.g., inclusion list only)
- Combine a target audience and lookalikes, where Meta extends the audience reach using its algorithm
- Use lookalikes only, with no direct targeting of the original inclusion audience
-
Click Apply.
You have now set up your Meta Ads campaign.
Best practices
Follow these guidelines to get the most of Meta Ads in Orbit.
- Use Meta Ads for top-of-funnel marketing to increase brand awareness
- Pair Meta Ads campaigns with email campaigns for consistent messaging across channels
- Regularly review your exclusion lists to optimise ad spend and prevent irrelevant targeting
- Leverage lookalike audiences to expand reach while maintaining audience relevance