Apteco SMS
With Apteco SMS in Orbit campaigns, you can instantly engage customers through personalised text messages.
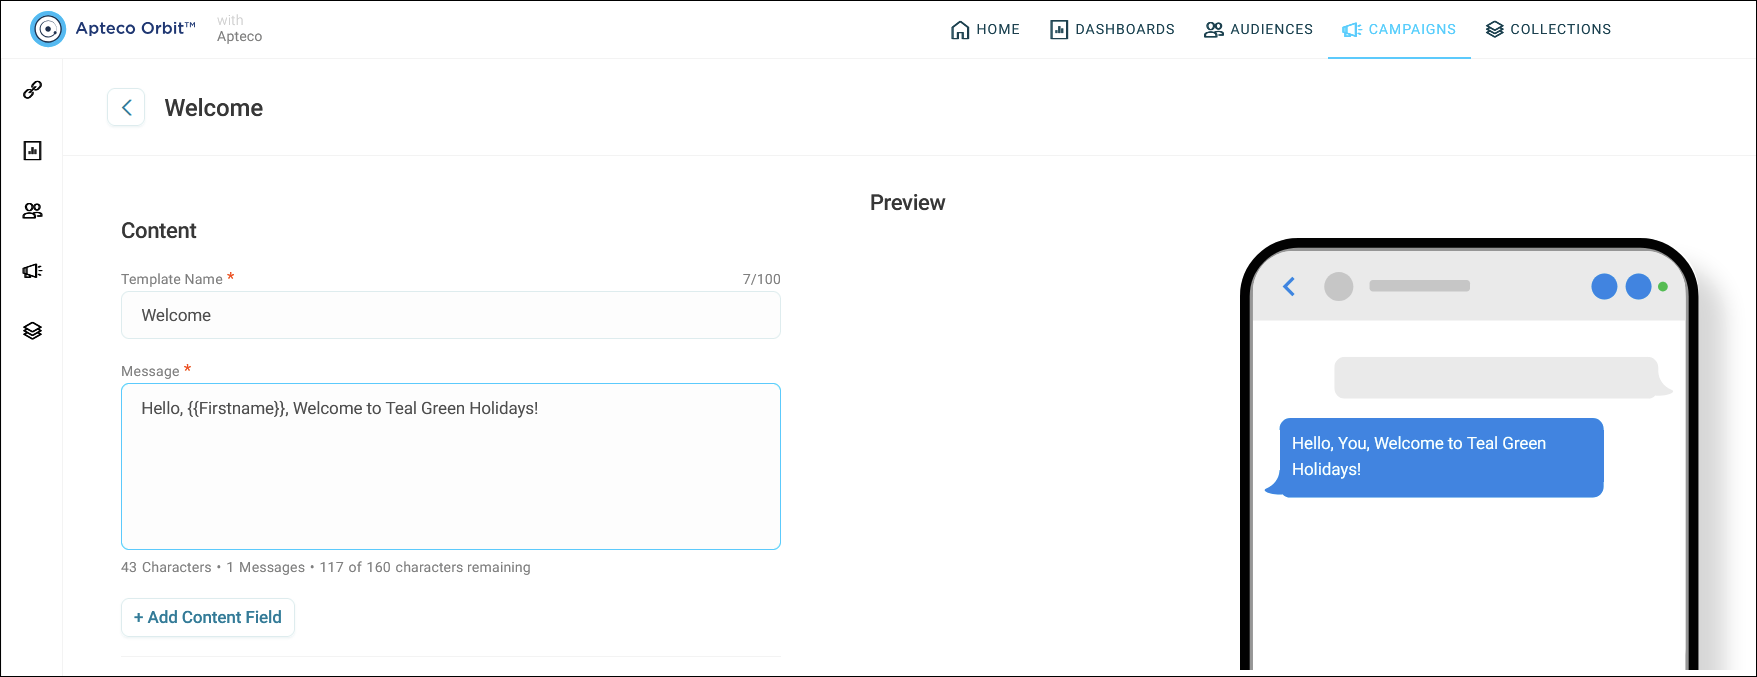
The SMS template builder makes message creation easy, allowing you to personalise content, track character count, SMS credits, and preview messages.
Apteco SMS is ideally tailored for urgent notifications, promotions, and reminders, offering flexible targeting to help you reach the right audience and improve customer experience.
Some benefits of Apteco SMS include:
- Instant engagement: Reach customers immediately for time-sensitive alerts
- High visibility: SMS goes directly to mobile inboxes, independent of internet access
- Cost management: Track character usage and credits to control campaign costs
Example use cases
Order confirmation and updates
After a customer places an order, you can send an SMS confirmation to reassure them it was successful. Follow-up messages about dispatch and delivery provide customers with timely updates, keeping them informed about their order status in real-time.
- Event reminders and alerts: Organisations hosting events can send SMS reminders to registered attendees with key details such as date, time, and location. A final-day reminder can boost attendance and reduce no-shows.
- Customer satisfaction surveys: After a recent purchase or interaction, you can send customers an SMS survey link to gather feedback promptly.
- Subscription renewal reminders: For subscription-based services, you can send SMS reminders ahead of renewal dates to notify customers of upcoming charges, helping to reduce involuntary churn.
Set up your SMS channel
Before sending SMS campaigns from Orbit, you’ll need to set up your SMS channel in the channel editor.
Apteco SMS allows you to send messages in two ways:
- Using a specified phone number: Messages appear to originate from this number
- Using an alphanumeric sender ID (e.g., your company name): Messages display this as the sender
The setup process is similar for both methods, differing mainly in the values entered for the Sender field.
Note
It's not possible to get response data when using an alphanumeric sender ID. You need to include a link to manage opt-outs and responses.
Note
You must provide the pre-existing sender number to Apteco during setup so it can be added to the account before using it in Orbit. Ensure any number or alphanumeric sender added here is correctly set up on the account before including it in the channel configuration.
Create your channel
To create an SMS channel:
- Log into Orbit as an administrator with permissions to configure the Campaigning Channel Editor.
- On the homepage, select your avatar in the top-right corner.
- Select Application Settings.
- From the left-hand menu, select Campaigning Channel Editor, then Edit.
-
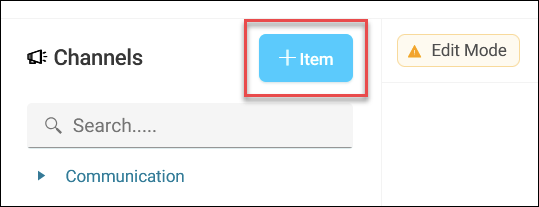
Select + Item.
-
Give your channel a meaningful name (e.g., Apteco SMS) and organise the folder structure.
Note
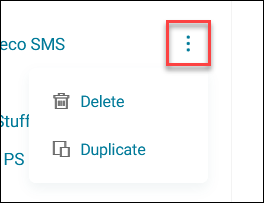
You can delete or duplicate an SMS channel by clicking the option menu next to the channel.
-
Click Create.
You can now begin setting up your SMS channel.
Configure your channel
To configure your SMS channel:
- On the Basic Details tab, select Apteco SMS from the Broadcaster dropdown.
-
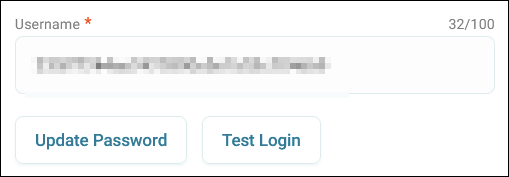
Enter the username provided when your Apteco SMS account was set up. This is also known as an API Key (Sinch Service Plan ID), an identifier provided to enable SMS sending.
-
For the password, input the API Secret (Sinch API Token) associated with your account.
Note
This unique token is automatically generated when your Apteco SMS account is set up and authenticates your account.
-
Click Test Login to verify credentials.
-
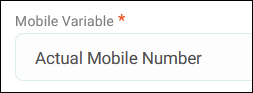
Click + Add Variable under Mobile Variable, then select the mobile phone number variable from FastStats.
Note
Make sure the number you add here doesn't have spaces, starts with a country code rather than with 00's, and has no brackets or dashes.
Acceptable formats:
+447123456789,447123456789 -
On the Output Settings tab, set the Message Content Type to SMS Template.
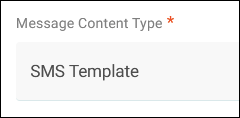
This selection enables the system to recognise your messages as SMS content without requiring additional configuration.
Note
If you want to use an external SMS broadcasting provider, select Broadcaster Template. The journey builder then displays only broadcaster templates.
When you select SMS Template, templates created in PeopleStage or Orbit appear in the journey builder. These templates display for all channels with Message Content Type set to SMS Template.
At this stage, you must decide whether you want to use a specified phone number or an alphanumeric sender ID.
Sending via a phone number
To use a phone number:
-
Set the Reply Mobile Number (provided by the Apteco Business Development team) in country code format (e.g., 447418628003 without the
+sign).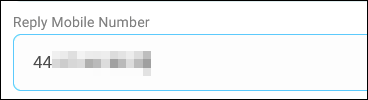
-
Enter a valid Reply Email Address.
Note
Orbit uses this to send notification emails to your system administrator about successful SMS sends or any delivery issues.
-
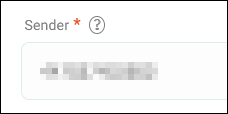
On the Parameters tab, set the Sender to match the Reply Mobile Number from the Basic Details tab.
Sending via alphanumeric text
Warning
Sending messages using an alphanumeric sender ID means you cannot recieve responses. This also means STOP lists cannot be handled at the moment.
To use alphanumeric text:
- On the Basic Details tab, leave Reply Mobile Number blank.
-
Enter a valid Reply Email Address.
Note
Orbit uses this to send notification emails to your system administrator about successful SMS sends or any delivery issues.
-
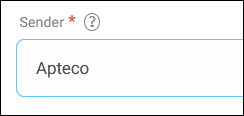
On the Parameters tab, set the Sender to the desired alphanumeric text (e.g., Apteco).
-
Once you’ve selected your sender ID, you can click Save All Changes to complete your channel setup.
Warning
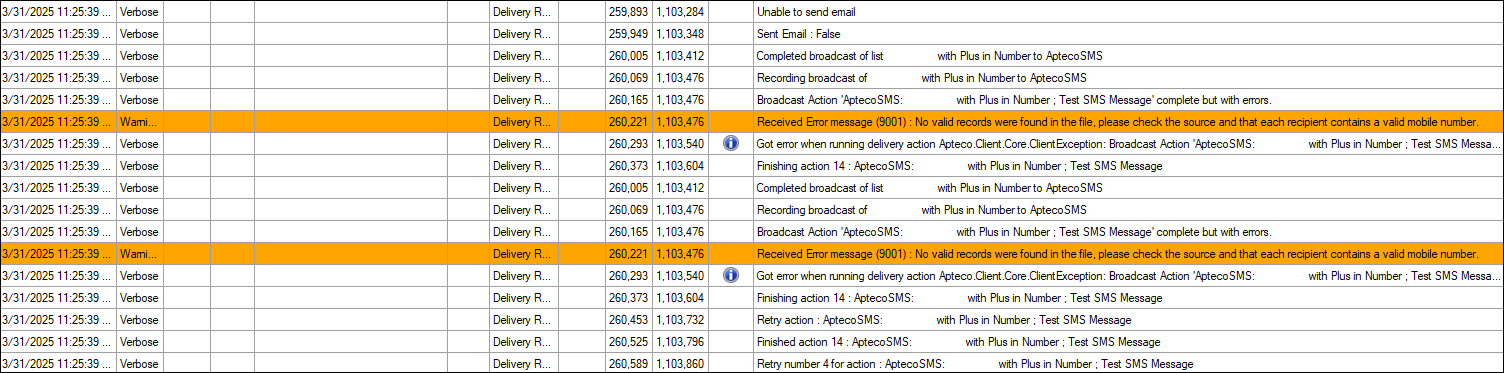
Do not enter anything in the File Mapping text box under the Parameters tab. Doing so will prevent messages from being sent, resulting in a 9001 error
Check the configuration
If you log out of Orbit and log in as a user that has access to campaigns, then you should see the remaining SMS Credits across the top of the page.

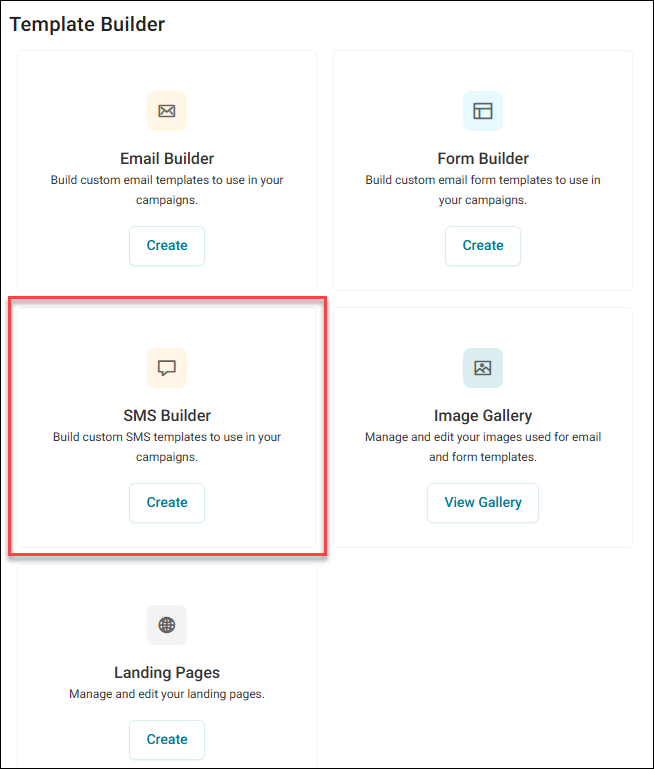
If you click Template Builder, then you should be able to create SMS templates via the SMS Builder.
You’re now ready to begin building your SMS templates.
Define consistent variables
Use Additional Variables in your channel definition to always pass the same personalisation content fields into all SMS templates.
This avoids campaign administrators needing to set them manually each time.
To add additional variables to your channel:
-
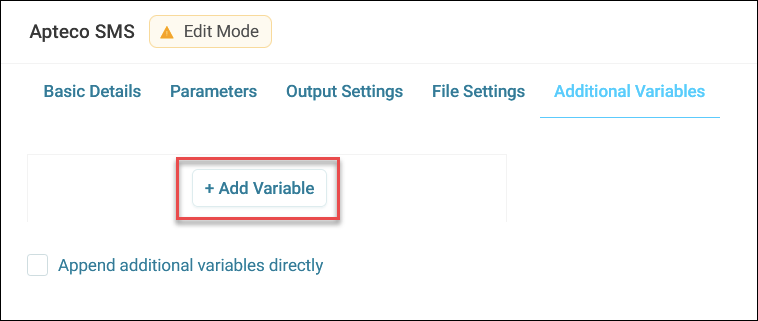
Go to the Additional Variables tab, then click + Add Variable.
-
Search for or navigate to the relevant FastStats variable.
-
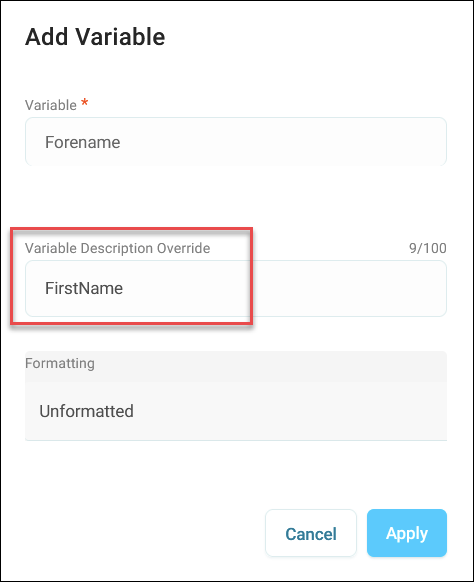
If the variable name differs from the personalisation field in the SMS template, then enter the template field name in Variable Description Override.
-
Optionally set any Formatting options.
- Click Apply.
- Click Save All Changes.
Once set, personalisation fields defined are automatically passed through during campaign delivery. You don’t need to configure them manually in each campaign.
Use Apteco SMS in a campaign
With your SMS channel and templates ready, you’re now ready to set up an SMS campaign in the Orbit journey builder.
To add an SMS message to your campaign journey:
- Go to Campaigns.
- Either select an existing campaign, or create a new one.
- Choose a target segment.
-
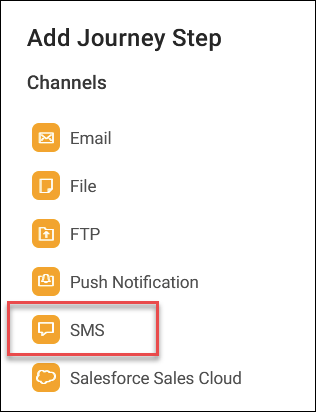
Click the + on your journey where you want your SMS message step, then select SMS under Channels.
-
Click your new SMS step, then give it a meaningful name for easy reference.
- Select Apteco SMS as the channel (or your channel name).
-
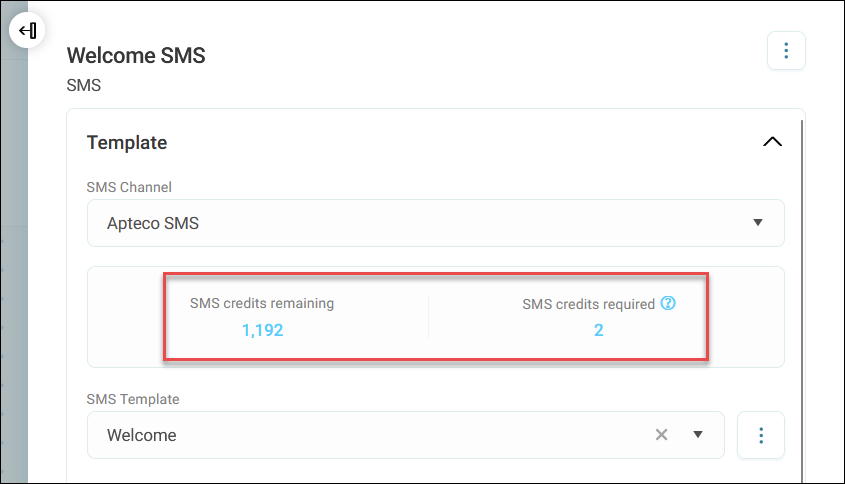
Check your SMS credits displayed beneath your channel.
Note
Each SMS message requires a certain number of message parts, which consume credits. The total required credits for your campaign are calculated based on:
- The number of recipients in your target audience
- The length of your message template, including any personalisation or emojis
-
Select the SMS template you want to use.
From within this specific SMS step, you also have further actions available from the option menu.
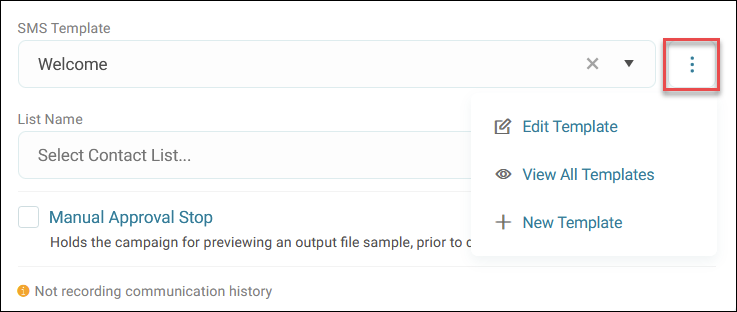
- Edit Template: Edit and save your current template without leaving the journey builder
- View All Templates: View all of your templates in the SMS builder. You can manage templates as needed to maintain your template library
- New Template: Create a new template to use in the current SMS message step
-
If you wish to add a manual approval to the delivery, then tick Manual Approval Stop.
-
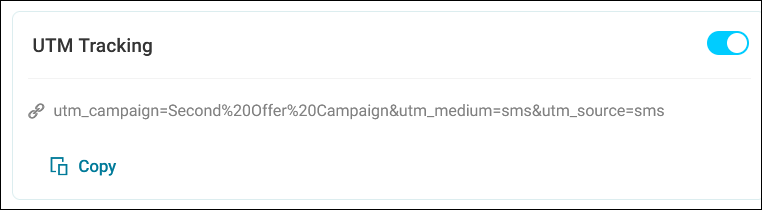
Choose whether you want Orbit to apply UTM codes to any links in your message by switching the toggle. See UTM code tracking.
You’ve now chosen the SMS channel and template for your campaign step.
Validating personalisation
If the template that you chose has personalisation fields defined, then these appear under Personalisation in the side panel.
Click the yellow bar to see what you named the personalisation field when creating your template.
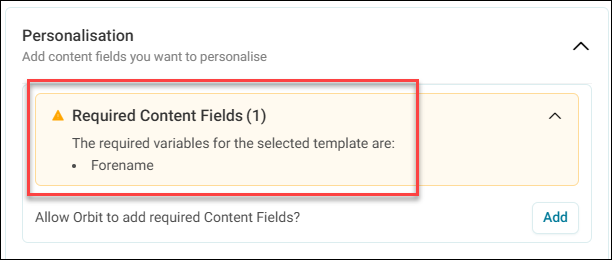
To set up personalisation in your message:
- Click Add.
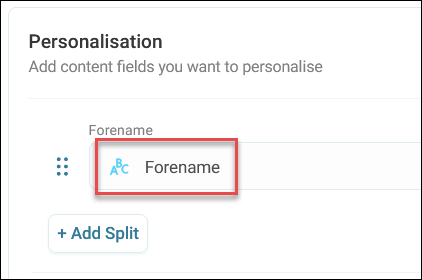
- Click + Add Variable in order to map this content field to a FastStats variable.
-
Search for, or navigate to, the required field, then select it.
-
To format the variable, click the option button then Formatting.
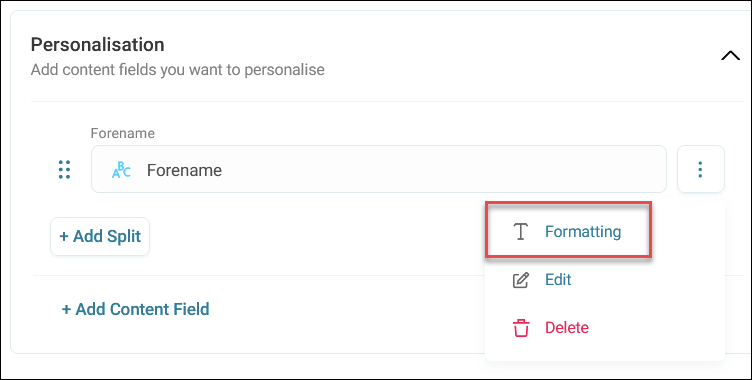
You can apply uppercase, lowercase, or title case mappings and choose to output unclassified categories as blanks. The default is to leave the formatting as Unformatted.
-
Click Apply.
Tip
If you always want to include the same personalisation fields in your SMS templates without requiring campaign administrators to set them each time, add them as Additional Variables in the channel definition.
-
Save, publish, and set a schedule for your campaign.
You've now successfully set up an SMS message in your campaign. Orbit now automatically handles your SMS sends according to the schedule you've set.