Push notifications
Push notifications are a convenient way to deliver short, actionable messages directly to your customers' devices. Unlike emails, push notifications are instantly available/accessible on a user's screen, ensuring they capture attention quickly.
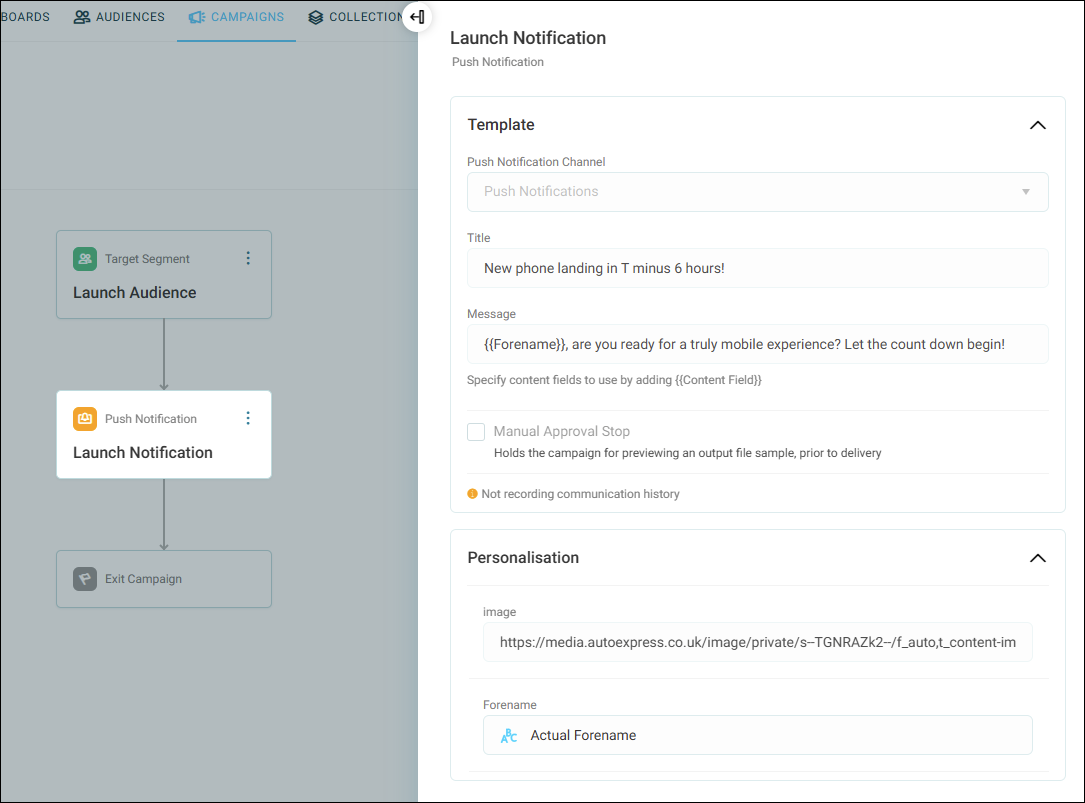
For Orbit, you enable push notifications through a cloud messaging service like Google Firebase, which manages message delivery to app users. Once configured, you use Orbit to design and send push notification campaigns, with options for personalisation, images, and scheduling.
Key benefits:
- Send messages instantly to engage users
- Use FastStats to segment audiences based on device tokens and behaviours
- Personalise messages with user-specific data and include images for enhanced engagement
Cloud messaging
To send push notifications to both Android and Apple devices with Orbit, you must first set up a cross-platform cloud messaging service. We recommend using a Google Firebase project, as Firebase efficiently handles the delivery of push notifications to users' devices.
Below is an overview of prerequisites for setting up Firebase. For comprehensive instructions on adding the Firebase Admin SDK to your system, refer to the Firebase Admin Setup Documentation. This guide covers project creation, enabling messaging services, and generating the necessary configuration files.
Google Firebase project and service account
To set up a Google Firebase project and service account:
- Create a Firebase Project.
- Enable Cloud Messaging.
- Register your app.
- Save the configuration file (
google-services.jsonorGoogleService-Info.plist) in a secure location accessible to your FastStats or Orbit configuration.
Device token collection
For Firebase to send messages to a user’s device, your app must generate and store device tokens:
Web or Mobile app integration:
- Ensure your app integrates Firebase SDK to handle token generation.
- Each device token uniquely identifies a user’s device or app session.
Token storage in FastStats:
- Map tokens to user profiles in FastStats.
- Use a dedicated variable in FastStats to store these tokens (e.g.,
Push Notification Token).
Push notification database in FastStats
The push notification database in FastStats acts as the link between Firebase and Orbit. It stores the configuration details and token mappings required to deliver notifications to the correct devices.
To configure the database:
- Open the FastStats Configurator.
- Click Database Management.
-
Locate or create a Push Notification Database.
If the database does not exist, create a new one. See FastStats system databases.
-
Insert a new row in the database’s Apps table:
-
Name: Enter a name for the app.
Note
This doesn’t need to match your Firebase project name.
-
GoogleServiceSettingsPath: Specify the file path of the Firebase JSON file downloaded earlier.
- GoogleProjectName: Enter the exact project name from Firebase, matching the case used in the
project_idfield in the.jsonfile specified in theGoogleServiceSettingsPathcolumn. - GoogleAPIKey: Ensure this field contains a non-blank, non-null value.
- Other fields: Populate any mandatory fields (e.g., connection strings). Non-essential fields can be left blank or populated with placeholder values if required.
-
-
Verify token storage. Ensure the FastStats system has a variable set up to store device tokens.
This variable links users in FastStats to their devices.
-
Create a new campaign and send a push notification to a record that has a Push Notification Device Token you control. Sending a test message from Firebase will not test your Apteco configuration.
You're now ready to set up your push notification channel.
Push notification channel
Once Firebase and the Push Notification Database in FastStats are set up, the next step is to create and configure a push notification channel in Orbit. This channel allows you to deliver notifications to specific users via their device tokens.
To create a push notification channel:
- Click your avatar in the top-right corner.
- Click Application Settings.
- Click Campaigning Channel Editor from the left-hand menu, then click Edit.
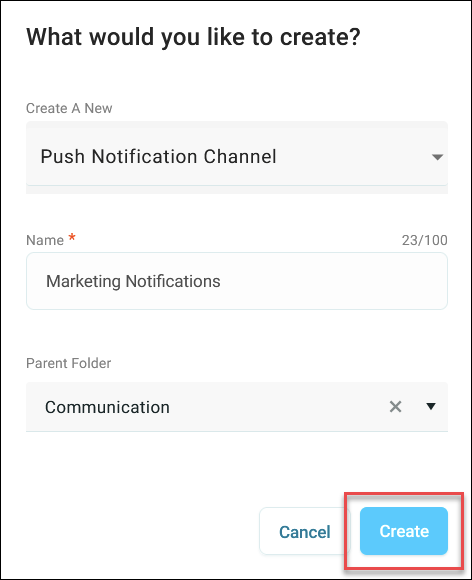
- To add a new push notification channel, click + Item.
- Select Push Notification Channel from the available options.
- Provide a name for the channel (e.g., "Marketing Notifications").
-
Place the channel in an appropriate folder to help organise your workspace.
-
Click Create.
You’ve created your channel and can now complete the configuration.
Configure your channel
To configure your channel:
-
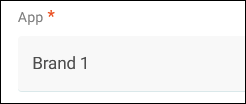
Enter the app name you specified in the FastStats Push Notification Database.
Note
This must match exactly (case-sensitive).
-
Select the variable from FastStats that stores device tokens (e.g.,
Push Notification Token).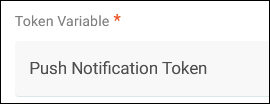
-
Leave optional parameters, such as output settings, at their default values unless required.
You have successfully set up your push notification channel. The next step is to use this channel in your Orbit campaign journeys.
Use push notifications in campaigns
Push notifications in Orbit campaigns are flexible and can include personalisation, images, and scheduling.
To set up push notifications in a campaign:
- From the Orbit homepage, select Campaigns.
- Either select an existing campaign, or create a new one.
-
Choose a target audience. See Including and excluding audiences.
Ensure the audience includes users with valid device tokens.
-
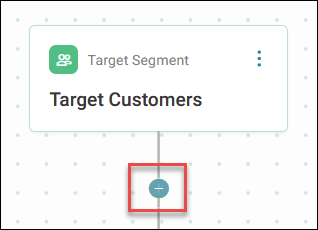
Click the plus icon to add a journey step where you want your push notification.
-
Select Push Notifications under Channels.
- Click the option menu on your push notification step, then click Edit.
- Give your step a meaningful name, then click Create.
This opens the side panel.
Push notification message step
You can now create your push notification message.
To set up your push notification message step:
- Select the Push Notification Channel you created.
-
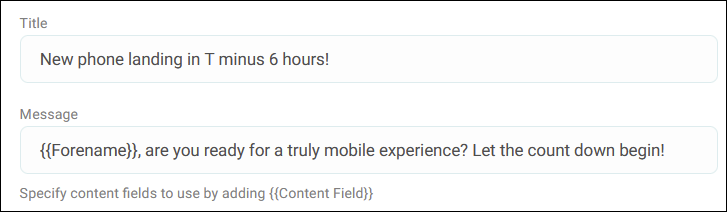
Enter a Title and Message.
Tip
Keep the text concise and engaging.
-
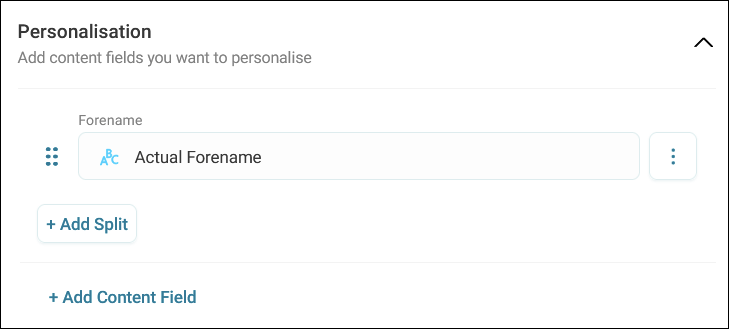
Add content fields to map any personalisation variables (e.g., ‘Actual ForeName’) to use in your message.
-
Specify any personalisation content fields (e.g.,
{}).
-
Use a variable named
imageto add an image to the notification. This is the thumbnail which appears to the left of the notification.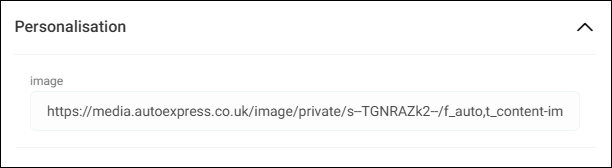
- Ensure the variable points to a valid image URL or file path
- Verify that the image format is compatible with the app receiving the notification
Note
If your app supports these settings, you can also add Badge and Sound variables.
- Badge is the symbol which appears on your device front screen to tell you there is a new notification from the app
- Sound is the tone that plays on your device when the notification arrives
-
Preview the notification with a test campaign run to ensure personalisation and images appear as expected.
- Save, publish, and set a schedule for your campaign.
You have successfully used push notifications in your Orbit campaign.
Troubleshooting push notifications
Even with a well-configured setup, issues can arise. This section outlines common problems and how to resolve them.
Issue 1: notifications not being sent
Check firebase configuration
- Verify the Firebase JSON file is correctly referenced in the Push Notification Database.
- Ensure the Server Key and Sender ID are valid.
Validate device tokens
- Confirm that device tokens are stored correctly in FastStats.
- Ensure the audience includes users with non-empty tokens.
Issue 2: personalisation not working
Check placeholder mapping
- Ensure that placeholders in your notification message match the variable names or content fields exactly.
- Confirm that the personalisation fields are mapped correctly in Orbit.
Issue 3: images not displaying
Verify the variable name
- Ensure the variable used for the image is named "image" (case-sensitive).
Check compatibility
- Verify that the app receiving the notification supports image rendering.
- Test the image URL or file path to confirm it is accessible.
Additional troubleshooting tips
- Double-check fields like Firebase project names and app names for case mismatches.
- Use small, internal test audiences to identify and resolve issues before launching campaigns.
- Review Orbit and Firebase logs to identify potential errors.