Campaign goals
Before embarking on any marketing campaign journey, it's essential to have a clear goal in mind.
Campaign goals in Orbit allow you to establish a single, measurable outcome and purpose for each campaign, track its progress, and report on success.
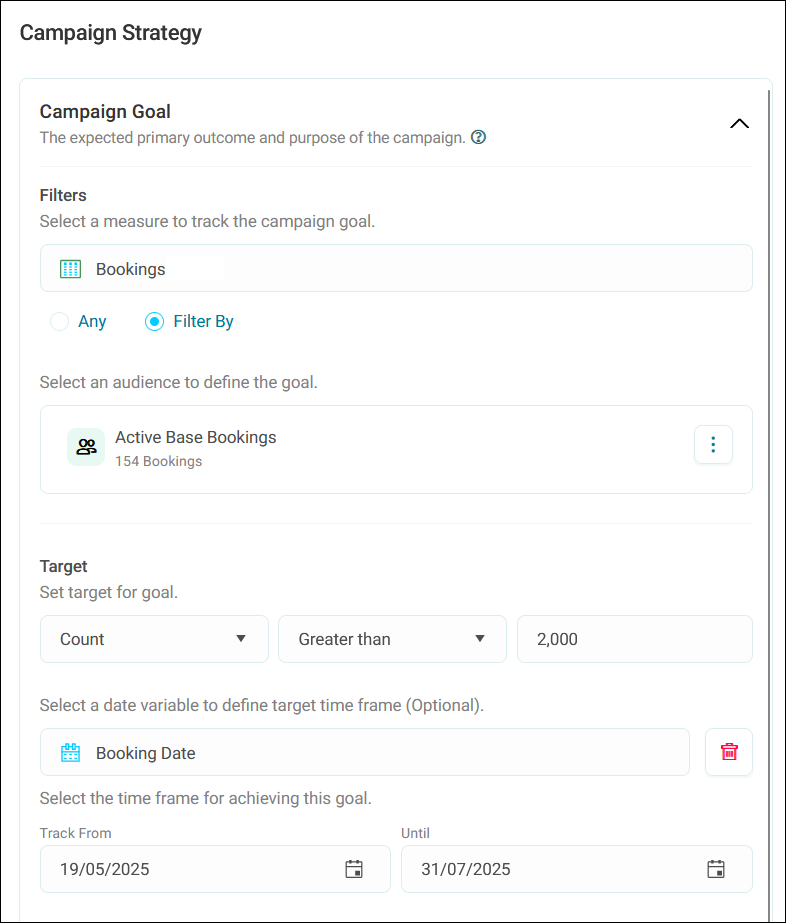
Whether your aim is to increase revenue, boost subscriptions, or drive product-specific sales, you can tailor your goal to suit your marketing strategy.
Key benefits of campaign goals include:
- Automatic tracking: Monitor campaign goals in real-time with visual indicators
- Transparent aims: Align team on purpose and targets
- Integrated reporting: Review goal performance with Campaign-linked dashboards
- Data-driven insights: Automate analysis for clearer performance insights
Example use cases
Increase product sales for a new launch
For a mobile phone launch, set a goal to drive new purchases. Define a target number of orders within a set timeframe.
- Boost event registrations: Set a goal to reach a target number of registrations for an upcoming webinar or conference.
- Drive website visits: Track the count of website visits generated from a campaign, setting a goal to achieve a specific number of unique visitors within a designated timeframe.
- Raise donation amounts: For a fund-raising initiative, establish a revenue goal to reach a specified donation amount.
Creating a campaign goal
To begin defining a clear campaign goal and track your progress, we need to set up a goal in the journey builder. This involves defining what measure to track, setting an optional target, and choosing a timeframe.
The example below is a campaign promoting a new holiday destination. The purpose of the campaign is to increase holiday bookings.
Pre-requisites
- Communications history tables: Your system must have communications history tables built in to track campaign interactions.
- Record communications history setting: Enable Record Communications History in your campaign settings.
Creating the campaign journey
To begin setting up a campaign goal:
- From the Orbit homepage, select Campaigns.
- Either select an existing campaign, or create a new one.
- Begin by choosing a target audience and set up your communications.
-
Click the option menu in the top-right corner, then click Campaign strategy.
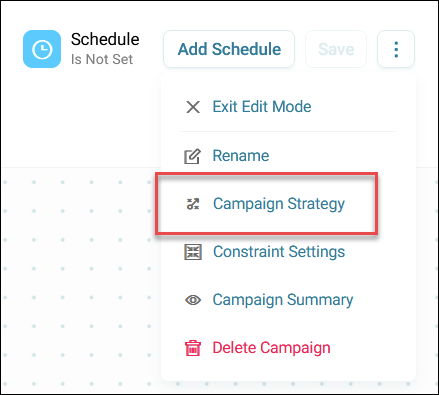
This opens the campaign strategy side panel where you can define your campaign goal.
Defining your campaign goal
Once you’ve created your goal you can now specify what to track and for how long.
Defining a measure to track
To define a measure to track:
- In the campaign strategy side panel, click + Add Variable.
-
Here, you can specify what variable to use to track the success of your campaign. For example, if your goal is related to financial performance, you might consider a revenue variable.
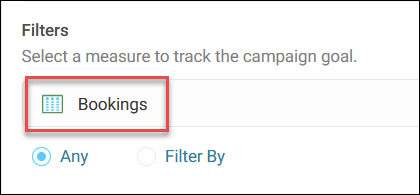
In our example campaign, we select Bookings from the Tables section.
-
You can now refine your measure further by applying audience filters.
Click Filter by, then click + Add Audience.
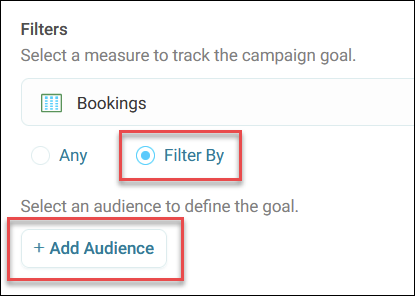
You can now select an audience to filter by.
Setting a target
To set your target:
- Select from Count, Sum, or Average of the measure you defined earlier.
- Next you can choose how you want to measure success with the comparison criteria (e.g., greater than, less than, equal to).
- Enter a target amount.
Some example targets might include:
- “Count of orders greater than or equal to 100”

- “Sum of revenue greater than £10,000”

Setting a time frame
Here you can use a date variable to define your target time frame. This ensures only actions occurring after a customer enters your campaign count towards your goal.
- Click + Add Variable.
-
Choose a relevant date variable to define your goal time frame (e.g., Booking Date, Travel Date).

-
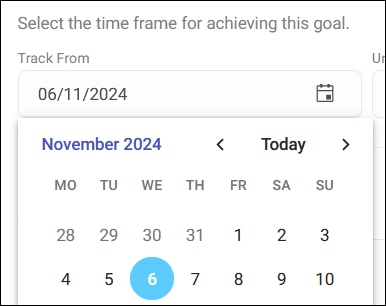
Set the Track From date when you want to start counting actions. You can either type the date or use the calendar view.
Note
This typically begins when the campaign launches.
If you have an ambitious target then make sure you’re realistic with your timeframe.
-
Set the Until date when you want to stop counting actions (e.g., track for one month after launch).
-
If necessary, add any additional notes in the text box that clarify the goal’s purpose or provide context for your team.
-
Click Apply to save your campaign goal setup.
Note
To reset the goal definitions at any time, click Delete Goal.
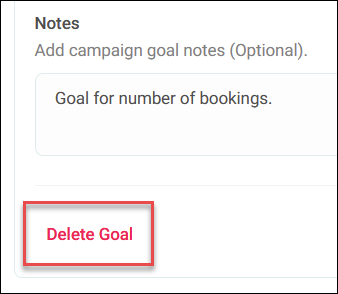
Your campaign goal is now visible above your campaign journey.
Best practices for tracking with date variables
When using date variables to define your goal time frame:
- Set the Track from date to align with or after your campaign launch
- Ensure your date range is appropriate for your campaign duration
- Consider the typical purchase/action cycle for your product or service
- Use booking dates for immediate actions and travel/usage dates for future-oriented goals
Campaign goal progress
Once you publish your campaign, Orbit waits to begin tracking until the first message is sent. This ensures that if the campaign is scheduled for a future date, tracking aligns with the actual start of audience engagement.
You can see a progress bar for the goal from the top of your campaign journey.
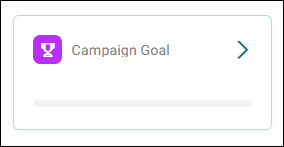
Initially, the progress bar displays At Risk status until interactions begin, such as purchases or other conversions.