Triggered events
Triggered events in Orbit campaigns let you automatically respond to key recipient actions, boosting engagement and guiding customers through their journey based on real-time behaviour.
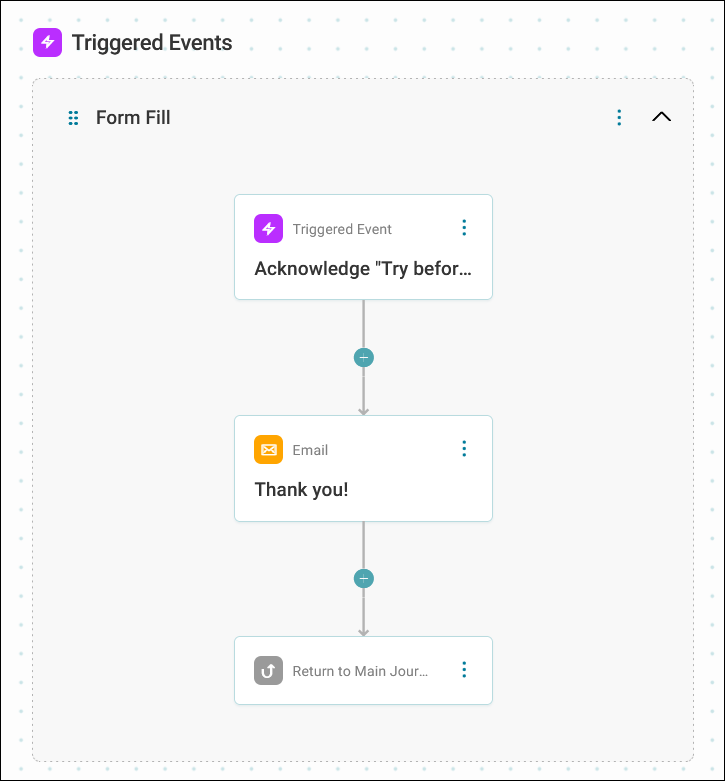
Triggered events are predefined actions that activate when recipients meet certain conditions, like downloading content or making a purchase. Once a recipient triggers an event, the campaign immediately responds with a specified message or action. Constraints ensure recipients don’t receive duplicate messages, keeping communications balanced.
Triggered events enable campaigns to react flexibly, either to real-time actions (e.g., new purchases) or specific audience segments (e.g., loyal customers).
Key benefits of triggered events include:
- Real-time engagement: Respond instantly at key moments of intent.
- Journey control: Adjust recipient paths based on the Campaign goals.
- Performance insights: Analyse responses to optimise engagement.
- Milestone tracking: Track key engagement points to refine your strategy.
Example use cases
Welcome new subscribers
When a recipient signs up for a newsletter, a triggered event sends a welcome email with relevant content, setting the tone for the campaign and outlining what they can expect in the journey.
- Post-purchase acknowledgements: After a recipient completes a purchase, the triggered event sends a thank-you email to show appreciation and possibly suggest related products.
- Abandoned cart reminders: If a customer adds items to their cart but doesn’t complete the purchase, a triggered event sends a reminder, potentially with a discount, to encourage checkout.
- Loyalty rewards: For customers who hit a milestone, such as a certain number of purchases, the triggered event offers a reward or exclusive offer to foster loyalty and retention.
How triggered events work
Triggered events run alongside the main campaign journey, allowing you to direct recipients based on actions without altering the main flow. Dynamic, multistage campaigns in Orbit consist of two core journey sections:
-
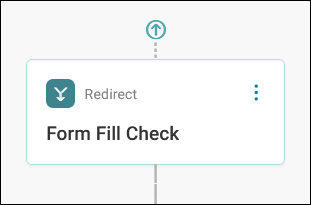
Redirects: These are sections within the campaign that guide customers down a linear path and back to the main campaign journey.
-
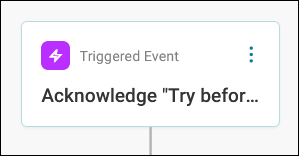
Triggered events: Independent actions that activate based on specific conditions, offering flexibility in the recipient's journey.
Note
This feature is available with a Campaigner bundle and above.
Create a triggered event
Setting up a triggered event allows your campaigns to respond automatically to specific actions taken by recipients. Triggered events are highly customisable, allowing you to define criteria, apply constraints, and specify the message recipients will receive.
Define the purpose
Before setting up your triggered event, determine the objective and desired outcome.
This could be:
- Sending a thank-you message after a purchase.
- Offering a discount for abandoned cart recovery.
Here, we’ll create a triggered event that sends a thank-you email when a recipient completes a form for a "try before you buy" offer.
Create your triggered event
To create a triggered event:
- Open the journey for your campaign by clicking Journey.
-
Go to the end of your journey, then click + New Section.

-
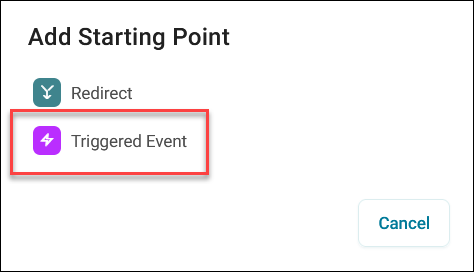
Click Triggered Event.
The new triggered event will appear under any redirects in your campaign.
-
Rename your triggered event section to help keep your campaign organised.
Click directly on the section name and edit it in place, or click the option menu and click Rename.
Tip
Naming conventions make it easy to manage and track triggered events, especially in complex campaigns. Descriptive names like “Form Fill - Try Before You Buy” quickly clarify the purpose of the event.
-
Rename the actual triggered event journey step.
Click directly on the step name and edit it in place, or click the option menu and click Rename.
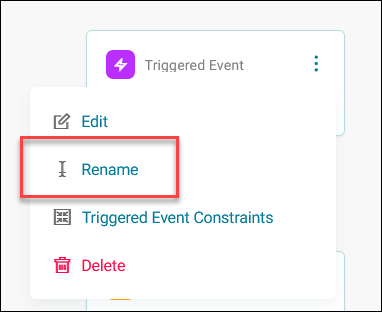
You have now created your triggered event. Next we need to define the audience and trigger.
Define the audience and trigger
To define your audience:
- Click the option menu, then click Edit.
- Click + Add Audience.
-
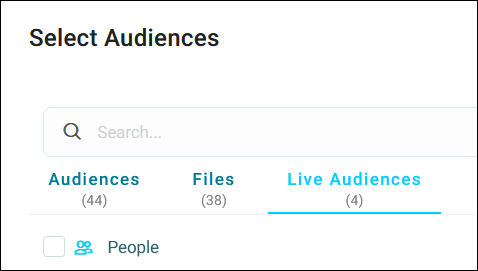
Choose the type of data source. You can select either:
- Live Data Audience: For real-time engagement, such as tracking form submissions immediately.
- Audience Data or Files: For pre-defined audience segments, like those who have previously interacted with similar forms.
Note
In this example, we select Live Data Audience to capture real-time form submissions, so any new recipient filling out the form will immediately enter the triggered event.
-
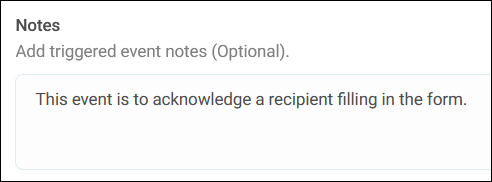
You can add an optional note to inform others what this triggered event is for.
-
Click Apply.
Now that you have created your triggered event, Orbit automatically applies a schedule:
-
After trigger schedule
Used when the triggered event is based on a Live Data Audience. When a new recipient meets the condition, the triggered event runs according to this schedule.
-
After build schedule
Applied to triggered events based on an Orbit Audience or Files. This schedule runs after fresh data is ingested and matches the event conditions.
Changing the triggered event schedule
You can change a triggered event's schedule from the automatic default described above.
To change the schedule:
-
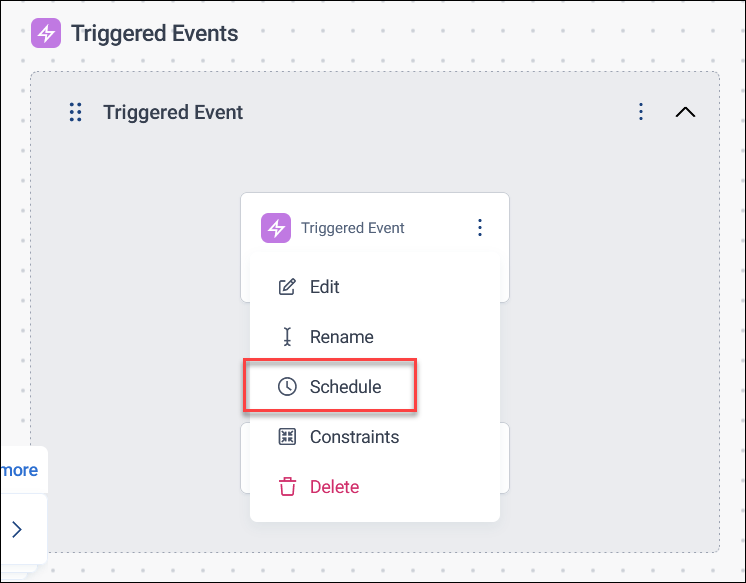
Click the option menu on the triggered event step, then click Schedule. You can also access this from the side panel.
-
Under Run, choose when the triggered event runs:
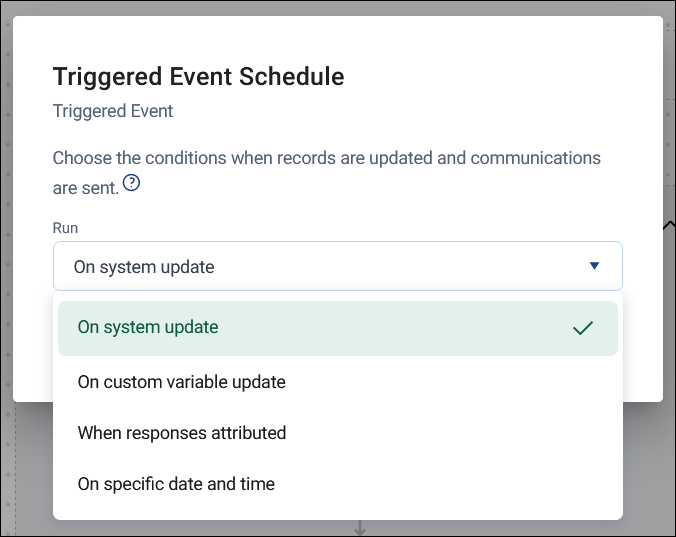
- On system update - the default for triggered events based on an Orbit Audience or Files
- On custom variable update
- When responses attributed
- On specific date and time - optionally repeating, for example every day for a week
Note
Triggered events based on a Live Data Audience show a fifth option, Live Data Triggered, which runs as soon as a recipient meets the condition.
-
Click Apply.
Note
If you manually choose a schedule, it persists even if you later change the triggered event's audience type. Orbit only applies the automatic default when you haven't overridden it yourself.
Once set, hover over the triggered event step to see its schedule at a glance.
The next step is to set up the event action for the triggered event.
Create the event action
The event action defines what communication happens when a recipient triggers the event.
To create an event action:
- Click the plus icon below your triggered event step
- Select the communication type you want to send. In this example, we’re sending an email.
-
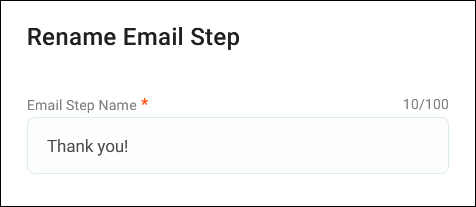
Click the new step, then give your action event a descriptive name.
-
Select your channel.
-
Select a template and customise the message content to match the triggered event context.
Tip
Keep the email content relevant to the form’s purpose. Reiterate the offer, provide instructions, and include helpful links to enhance recipient experience.
Example
You could use a subject line like “Thank you for your interest in trying our product” and include relevant information about the next steps. Include details about the "try before you buy" offer and any additional information on product availability.
-
Add any message personalisation. See Message personalisation.
-
Click Apply.
You've now set up your event action to respond to the recipient who triggered the event. You can decide where that recipient goes next in the campaign journey.
Specify the recipient's next step
After the action is triggered, decide whether recipients should continue with the main campaign or exit once the event completes.
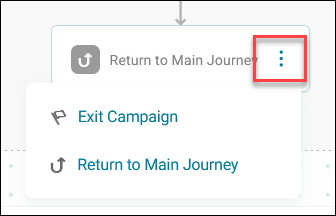
- Return to Main Journey: Use this option if the recipient should continue through the rest of the campaign after the triggered event, such as in a “try before you buy” journey.
- Exit Campaign: Choose this option if the triggered event achieves a campaign goal or objective, such as a post-purchase thank-you event.
To set the outcome:
-
On the last step of your triggered event, click the option menu.
-
Select either:
- Return to Main Journey
- Exit Campaign
Example
For this form fill scenario, we chose Return to Main Journey to keep recipients engaged with the rest of the campaign. This ensures they continue to receive relevant updates and promotions, encouraging them to make a purchase.
You have now successfully set up your triggered event. You can apply constraints to your triggered event to control how often recipients can interact.
Triggered event constraints
Constraints help control how often recipients interact with your specific triggered event, avoiding repetitive messaging. This is especially helpful if you have multiple triggered events in your campaign.
There are two main types of constraints:
-
Entry constraints: Limit how many times a recipient can enter a triggered event.
Note
If the event offers a discount, an entry constraint can prevent a recipient from receiving the same offer multiple times.
-
Contact constraints: Restrict the frequency of communications from this triggered event within a specific period.
Note
For constraints applied to a campaign, see Constraint settings.
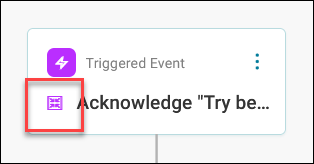
A symbol appears on your triggered event step when there is a constraint applied. Hovering over the step displays the constraint type and the name.
Entry constraint
This constraint sets the maximum number of times the recipient can enter this triggered event within a given time period.
To apply an entry constraint:
- Click the option menu on your triggered event step, then click Triggered Event Constraints.
- Under Entrance Strategy, click + Add Constraint.
-
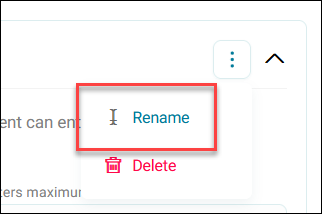
Give your constraint a descriptive name by clicking the option menu, then Rename.
-
Set the maximum number of entries per recipient or household.

-
Set the frequency with which they can enter the triggered event.
Tip
If you only ever want a recipient to enter once, maybe due to an event discount, set the frequency to Every 1 Lifetime.

-
Click Apply.
You’ve now set your entry constraint.
Contact constraint
This constraint sets the maximum number of communications the recipient can receive from this triggered event within a given time period.
To apply a contact constraint:
- Click the option menu on your triggered event step, then click Triggered Event Constraints.
- Under Contact Strategy, click + Add Constraint.
-
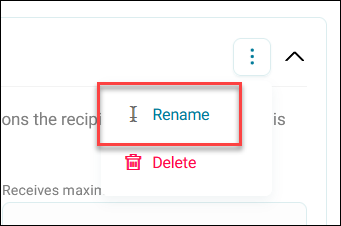
Give your constraint a descriptive name by clicking the option menu, then Rename.
-
Set the maximum number of communications per recipient or household.

-
Select the channel.
-
Set the frequency with which they can recieve the communication.

-
Click Apply.
You’ve now set your contact constraint.
Duplicating a triggered event
Duplicate a triggered event to quickly create another with the same audience, trigger, and settings.
To duplicate a triggered event:
- Click the option menu on the triggered event step.
-
Click Duplicate.
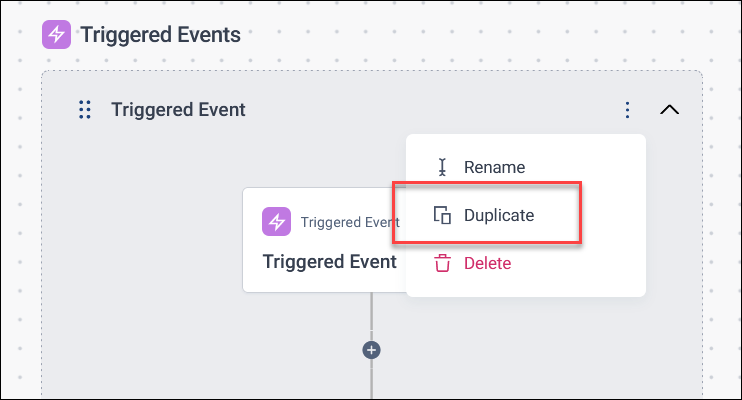
Orbit creates an exact copy of the triggered event, including its audience and trigger settings.