Users
The licensing agreement requires a separate account for each user.
To enter the Users Screen:
- Select the accounts and settings icon.
- Select the Users/Groups option from the drop down list.
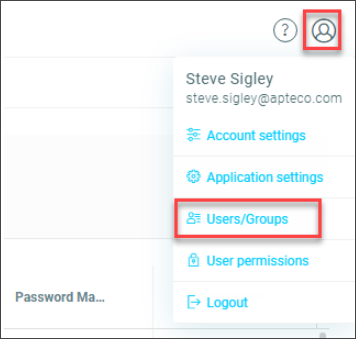
If you can't see Users/Groups, this option isn't enabled yet.
Once you enter the Users & Groups, you arrive at the landing page displaying all the users in your systems.
The users grid
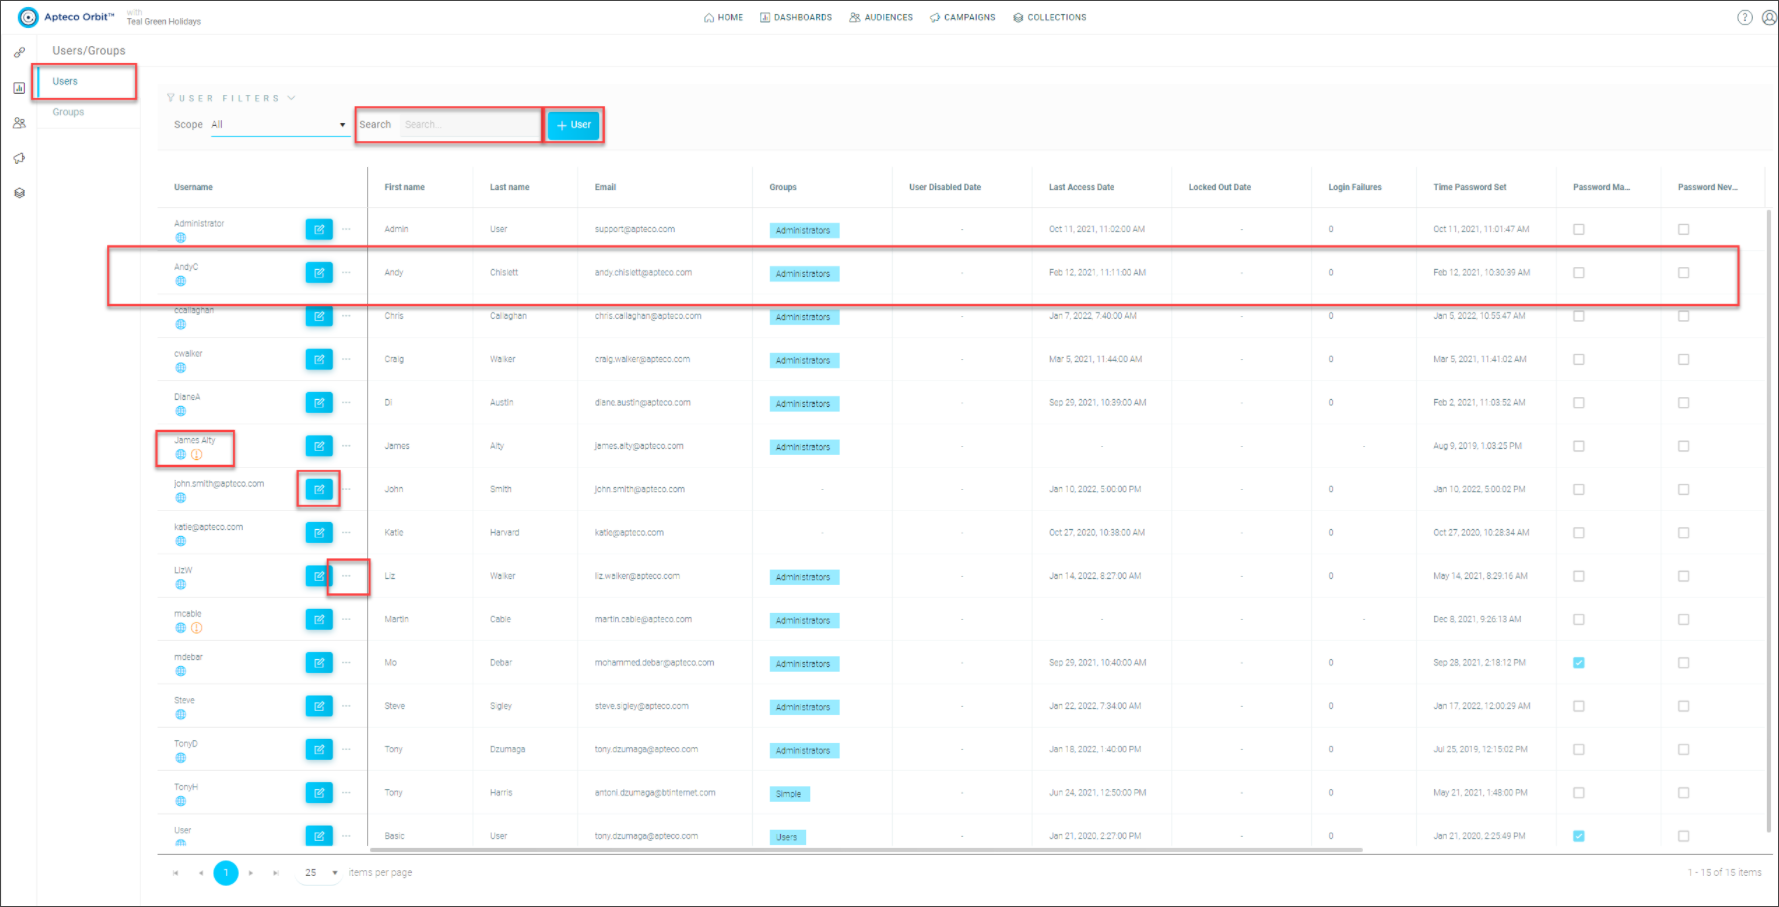
This page displays information about the system's Users and can't be directly edited:
- The far left column shows the user and the groups tab.
- The Search box lets you search for a user by any part of their username, email, first name, or last name.
- The Add User button lets you add a new user to this system. Below the search bar is a grid that displays information on users of this system.
- Each user appears as a horizontal row, and there is more information further to the right of the screen.
- Underneath the username there is a space for several small warning icons. Hovering over the icon explains what the warning icon means.
- To the right of the Username column is the small blue Edit User button. Selecting this button lets you edit an existing user's details.
- Just past the Edit User button is the options menu, which opens Advanced Options.
Adding and editing a user
Adding and editing a user both use the same dialog. The Add User button brings up an empty dialog. The Edit User button brings up the same dialog, but it's pre-populated with the user's details.
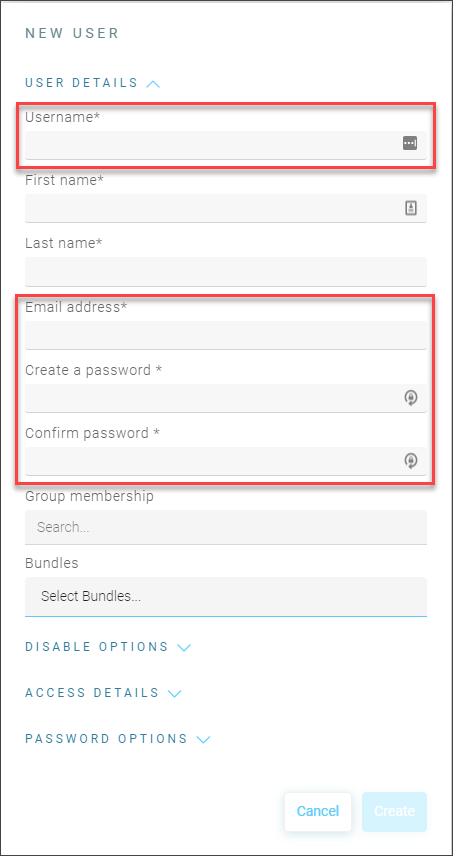
The username and email address need to be unique. If you're migrating from a prior version of Apteco Software, the email uniqueness requirement doesn't apply immediately. It applies once you try to change the email address.
The configuration of Orbit and FastStats systems determines password rules.
Group membership
You can add a user to multiple groups. You can also manage and remove users from these groups.
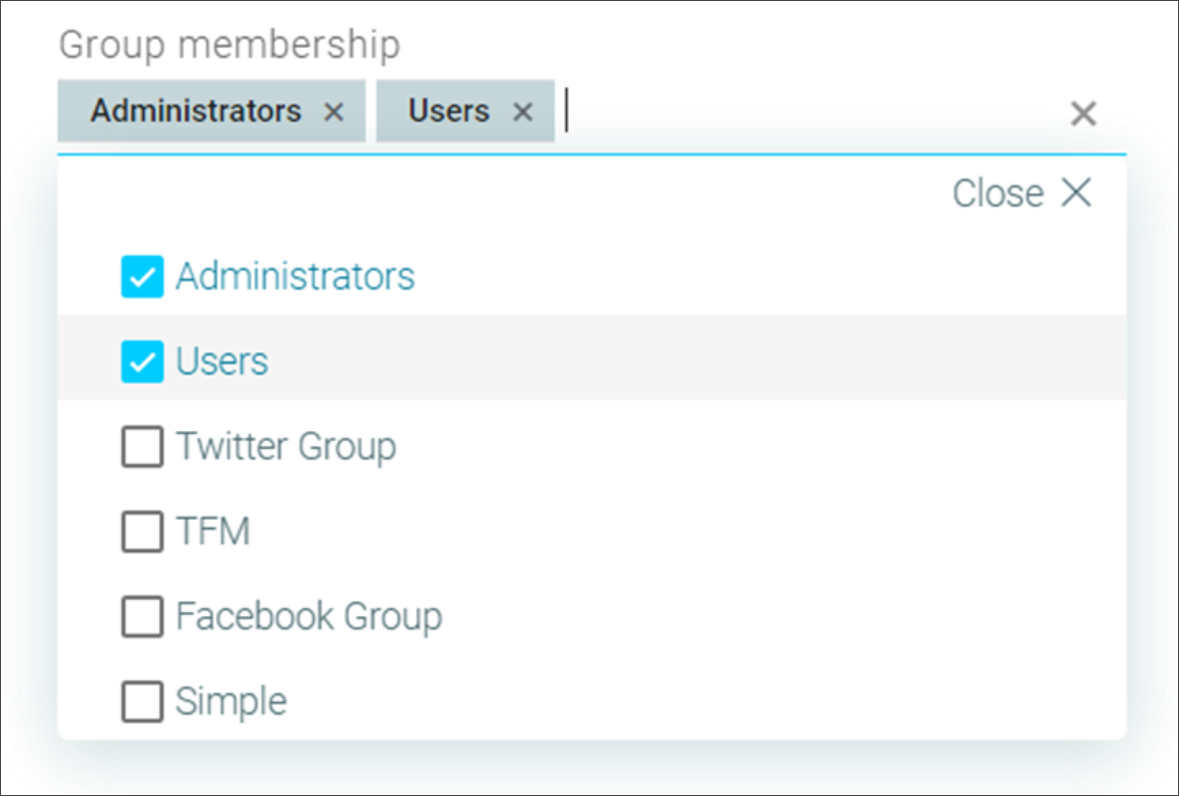
To add a user to multiple groups:
- Select in the Group membership box to open the drop down list of the groups available to this system.
- Select one or more groups that this user needs to be a member of.
- Select Apply.
Note
You can search for groups by typing a few letters from their name in the Group Membership box.
This version of Apteco software lets users be in more than one group. Remove a user from a group by selecting the small x beside the Group Name.
When you select a group, a small chiplet appears in the Group Membership Box.
This is the quickest way to add a single user to many groups. Adding and editing a group explains the quickest way to add many users to a single group.
Bundles
Selecting the Bundles box opens a drop down list with the bundles and licences available on this system. Several bundles may be available, and licences in those bundles appear indented slightly. If the licence box appears greyed out, there are no unused licences available. You can remove licences from other users, or purchase additional licences from your partner or Apteco. A user may have one or several licences. FastStats shows changes made to bundles and licences. Users aren't required to have licences, but unlicensed users have read-only, restricted access.
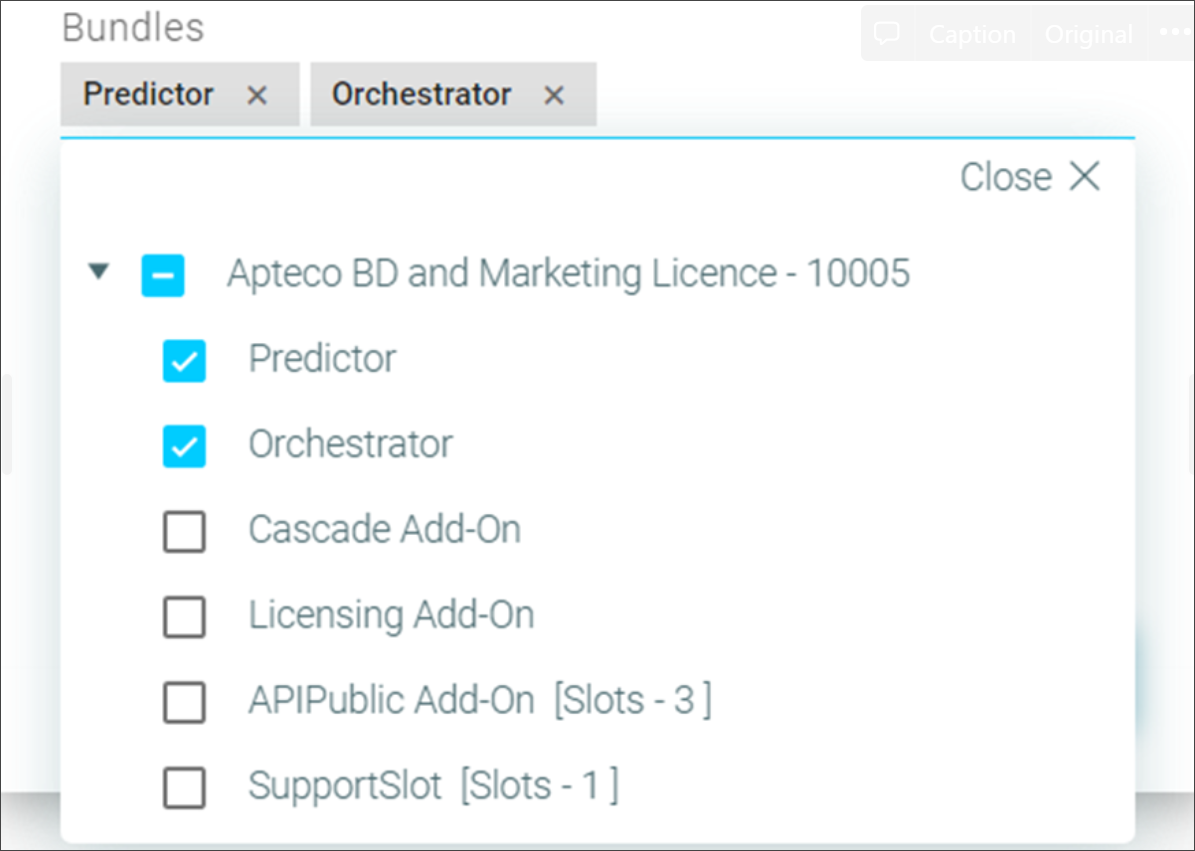
When you select a bundle or licence, a small chiplet appears in the Bundles Box.
Drop down items
Selecting any of the three headings, or the down arrow beside it, reveals more options.
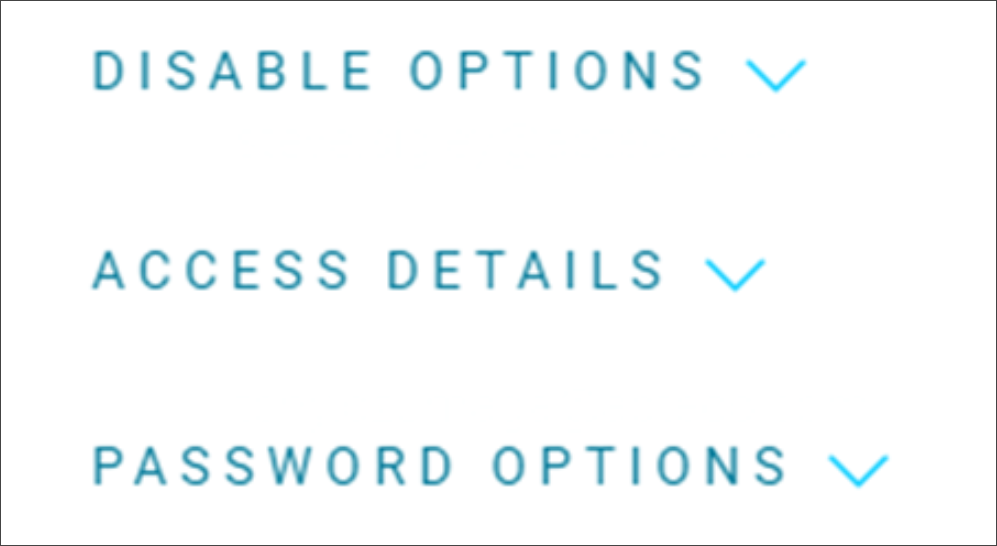
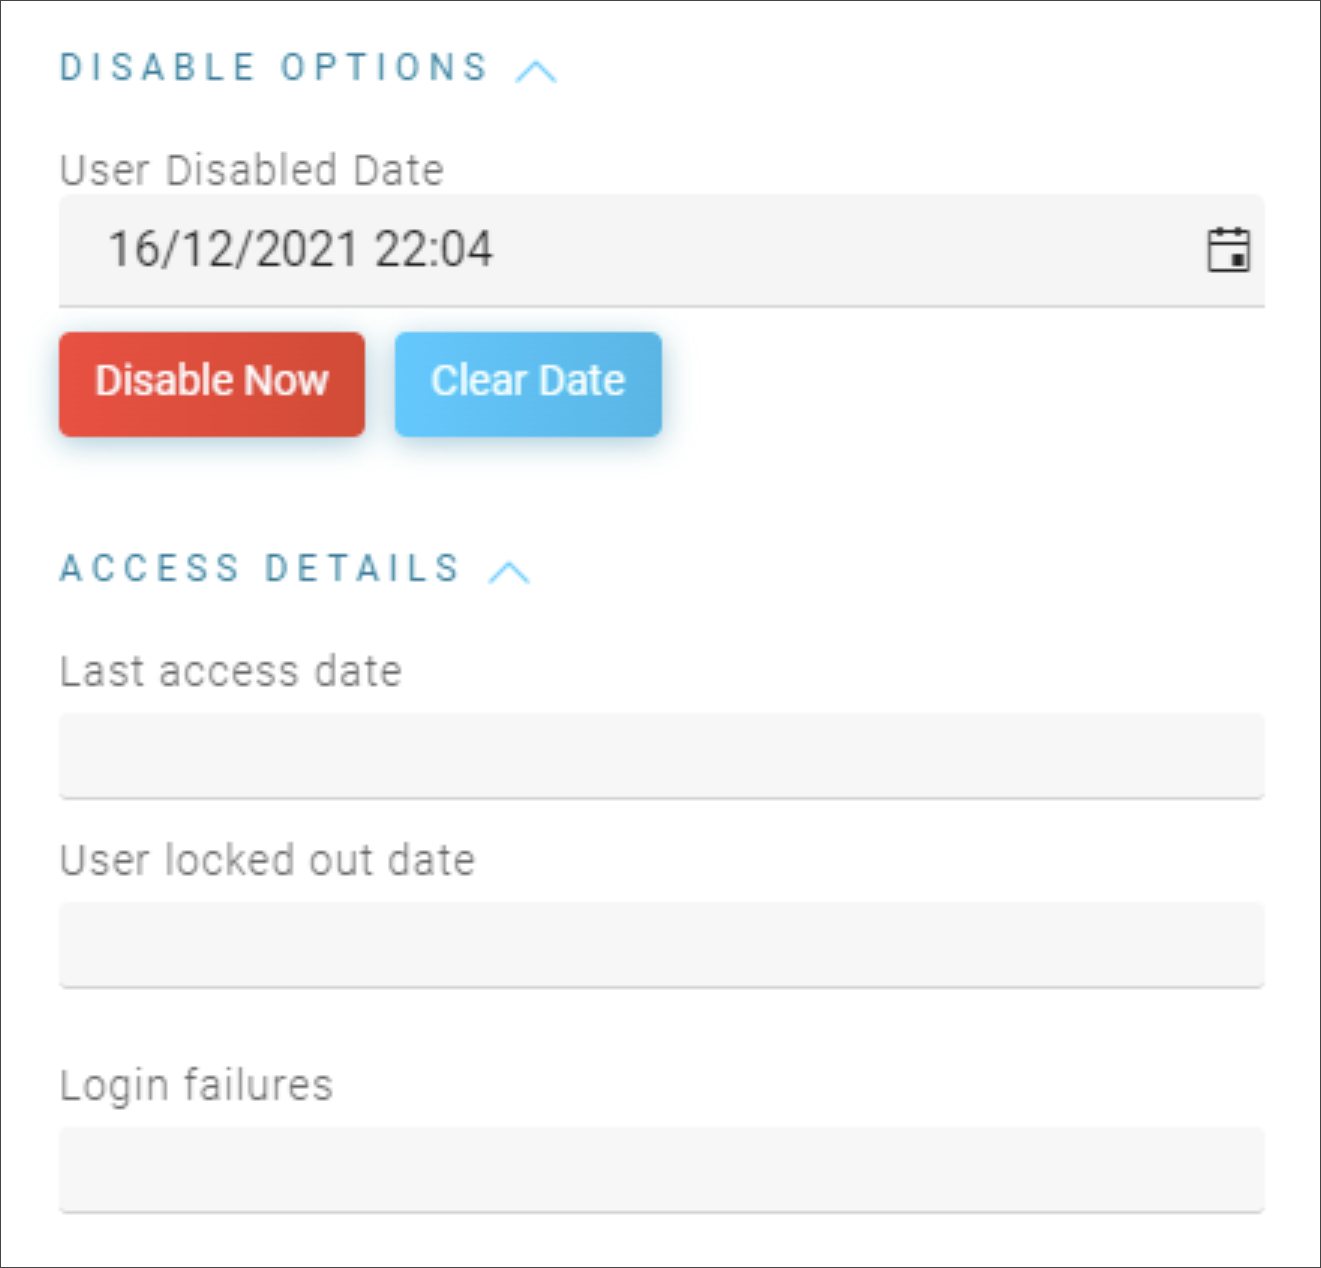
Disable options
The Disable Options section lets you lock a user out of the system now or in the future.
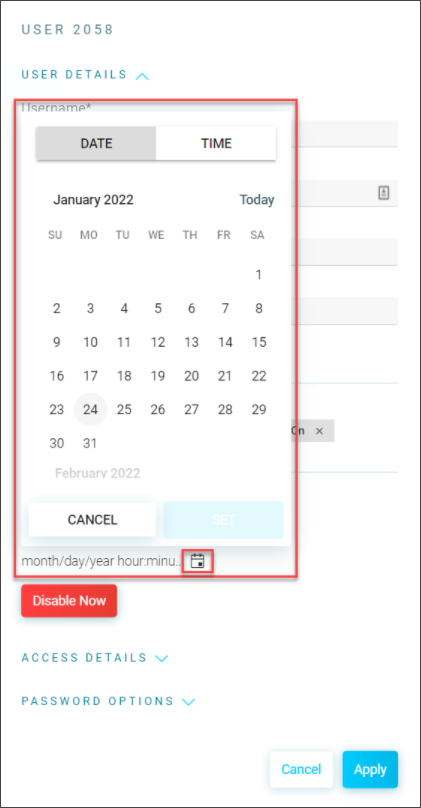
To disable options:
- Enter a date and time into the box, or select the calendar icon button and choose a date and time from the calendar pop up.
- Select the Disable Now button to lock the user out immediately.
Access details
You can access read-only details on this user's last login and login failures.
Note
You can also see this information on the main grid page.
Password options
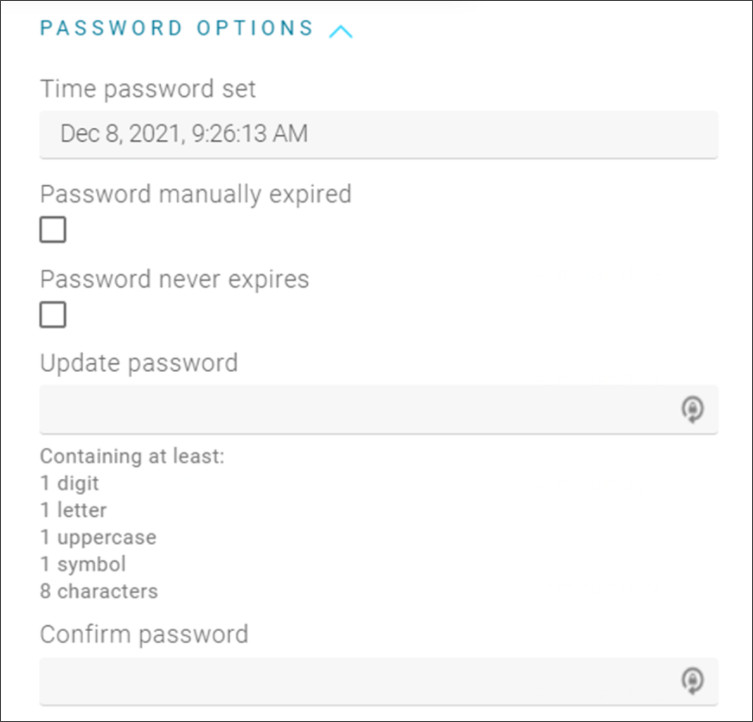
This section lets an administrator change a user's password.