Browse data solution
The browse data solution guides you through the steps required to set up a data grid, via the Add New page.
To set up a data grid:
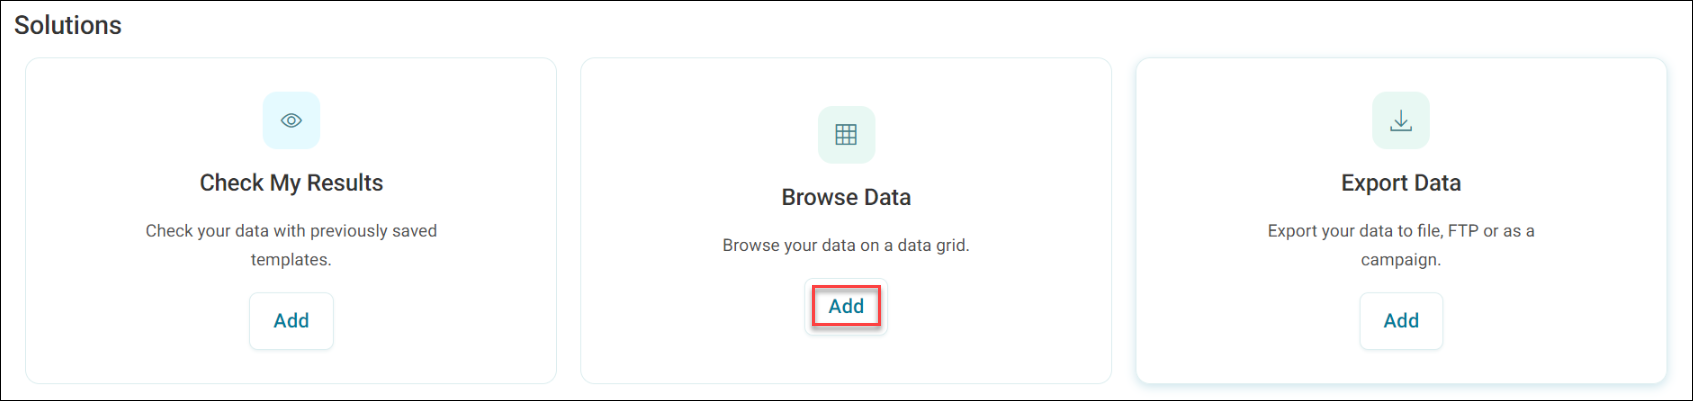
- Select Add.
-
Name your data grid.
The data grid page comprises a grid of data. You can view this data as multiple rows of data or single records on a page. You can export the data to a file for download. If you're exporting to a channel or via File Transfer Protocol (FTP) instead, use the Export Data solution.
To use the Export Data solution:
- Select the Add button on the Export Data tile.
- Select the Columns for display.
-
Select Next.
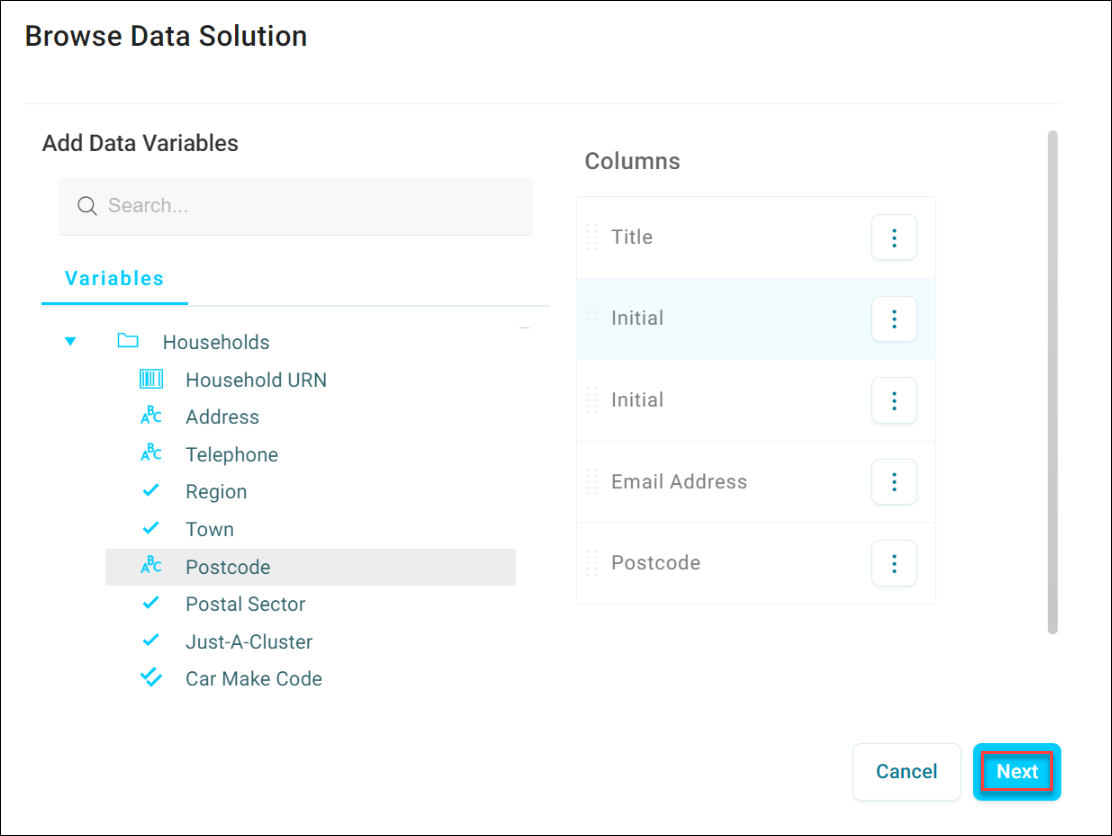
Once completed, you gain access to a new browse tab. It shows a grid populated with the first thousand records in the data you've chosen. Use the pager at the bottom of the grid to navigate through the data.
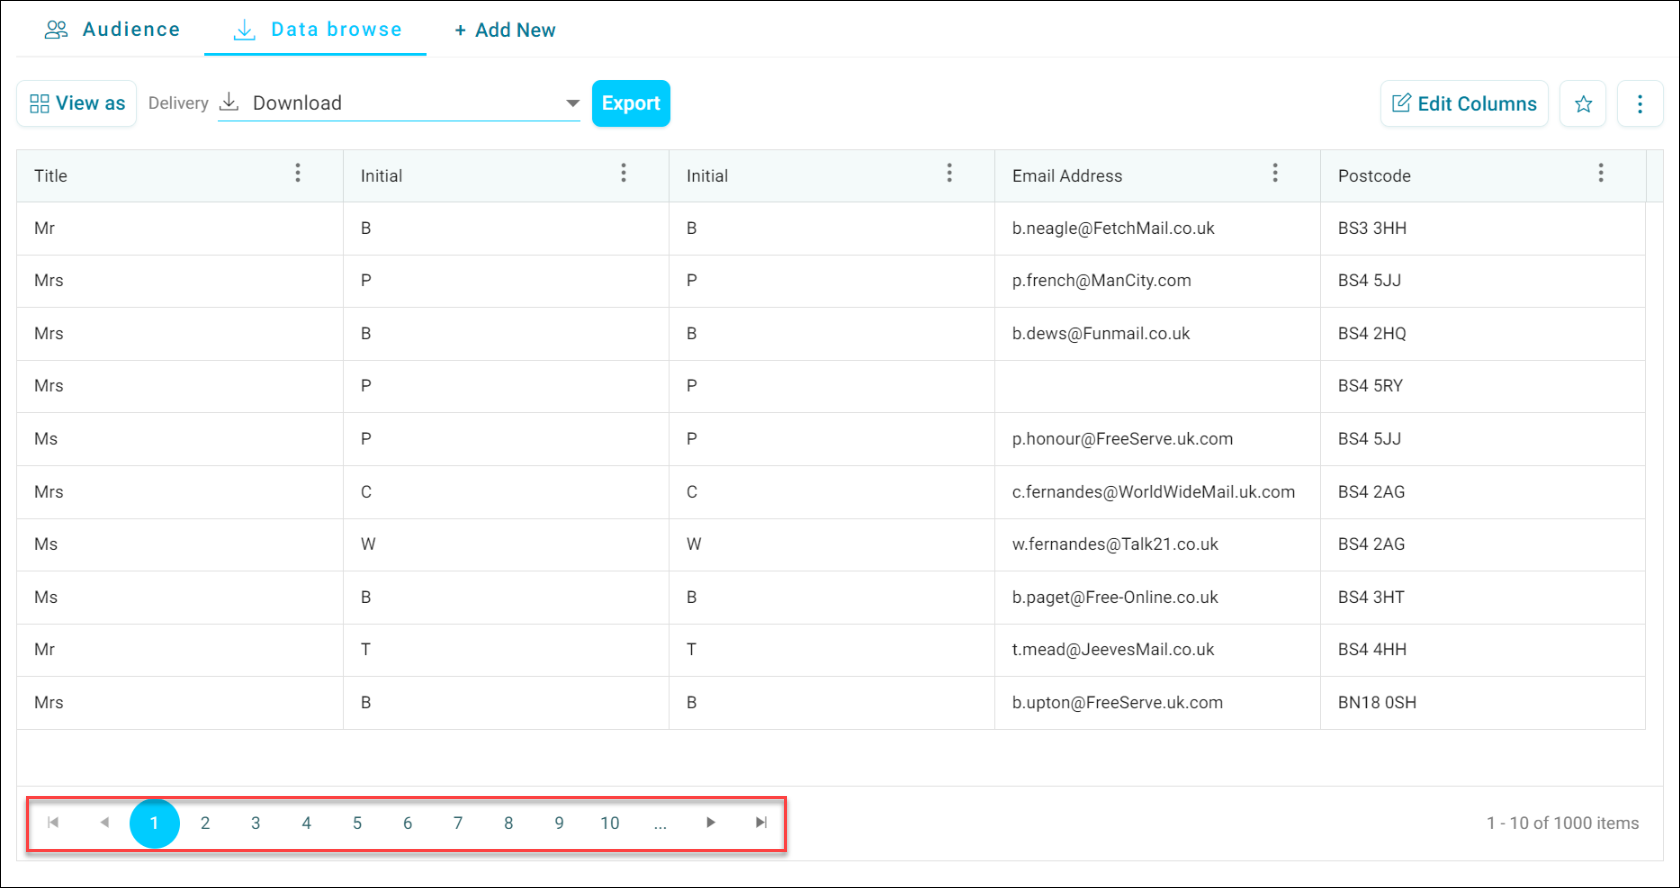
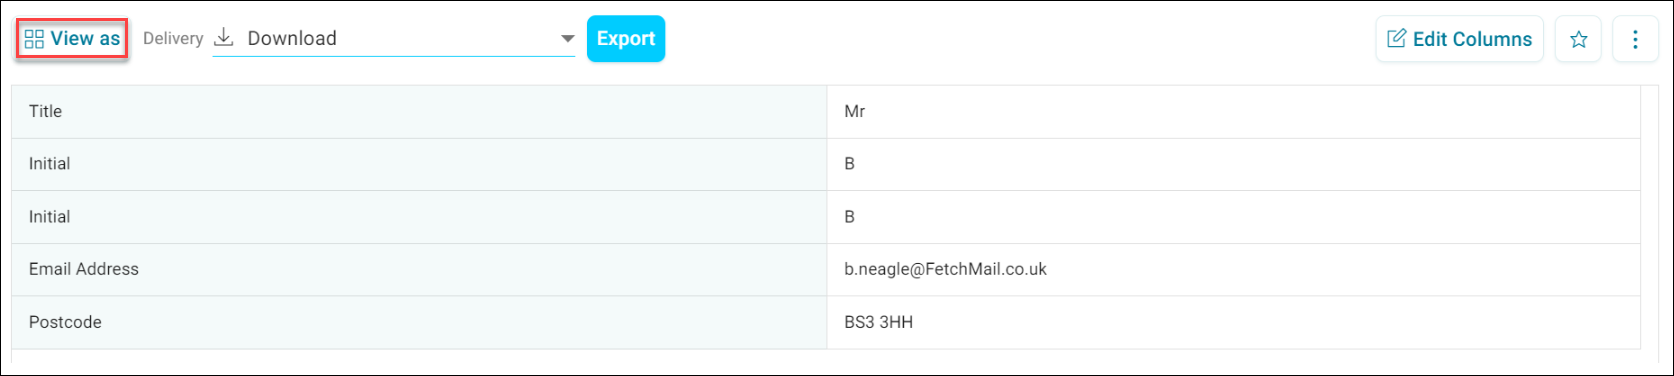
This Grid View displays multiple rows of data. Select the View As option in the top right to switch to Page View, displaying a single record at a time.
Sorting and filtering columns
Click a column header's options menu to sort the column, and to filter it if it's a text, numeric, or date column: Contains or Does not contain for text, a comparison such as Is greater than for numbers, or a From and To date range for dates.
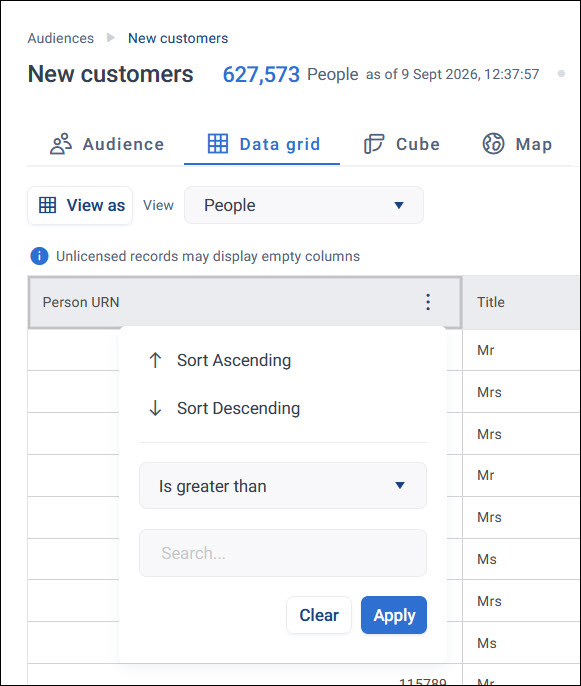
Sorting applies as soon as you select it, or select Sort Natural to reset a column to its default sort order. For a filter, enter your criteria, then select Apply, which stays disabled until you enter a value. Selecting Apply applies the filter and closes the menu. Select Clear to reset the filter. See Data grid tiles for the full set of filter options for each column type.
If you're happy with this data grid and want to use it again or share it, select the star icon in the top right. This adds it to your favourites. You can then access it from the Add New page and share it from there.